Meter repair and spare parts supply chain
Gallus gas meter repair process and spare parts supply
ArmOrgGas | Gallus meter repair
Overview
Gallus repair at a glance
Yearly tenders for repair and spare parts, backed by tight inventory, repair and reporting controls.
2+
tenders every year: repair service, then spare parts
8
repair stages, from intake to verified release
1
part-number-level ledger per spare part number
3
recurring inventory reports: baseline meters, meters repaired, part numbers replaced
Supply cycle
The annual supply cycle
1
Repair contract tenderOperator tenders the repair service. Spare parts are excluded.
Operator2
Annual quantity estimateWe give the operator our expected part quantities.
ArmOrgGas3
Spare parts tenderOperator tenders parts based on our estimates.
Operator4
Parts held at the operatorInventory sits in the operator-owned warehouse.
Operator5
Release on request formWe receive parts against our request forms.
BothSupply cycle
Estimate drives the parts tender
- Estimate by spare part number, per meter type
- Based on repair history and the installed base
- Handed to the operator before the parts tender
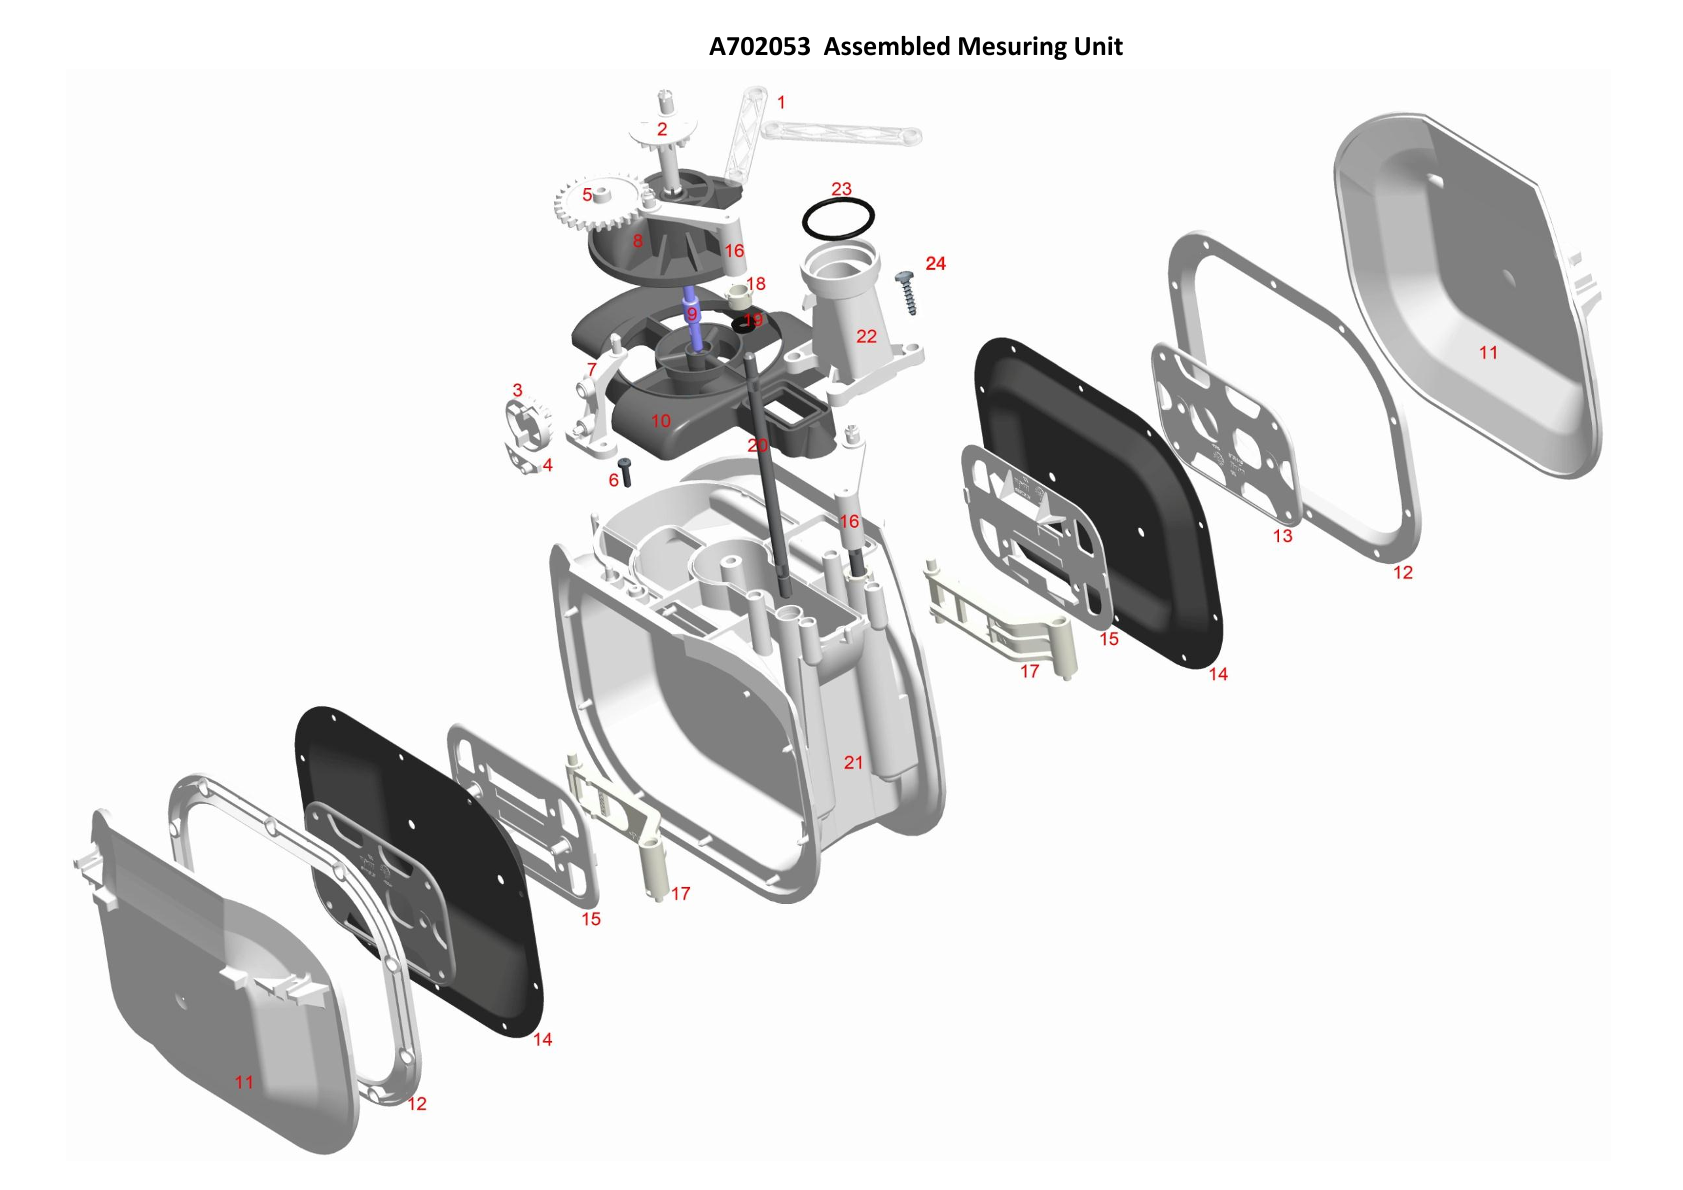
- Gallus map shows the format we use today
Gallus spare parts map: every part number we stock and use
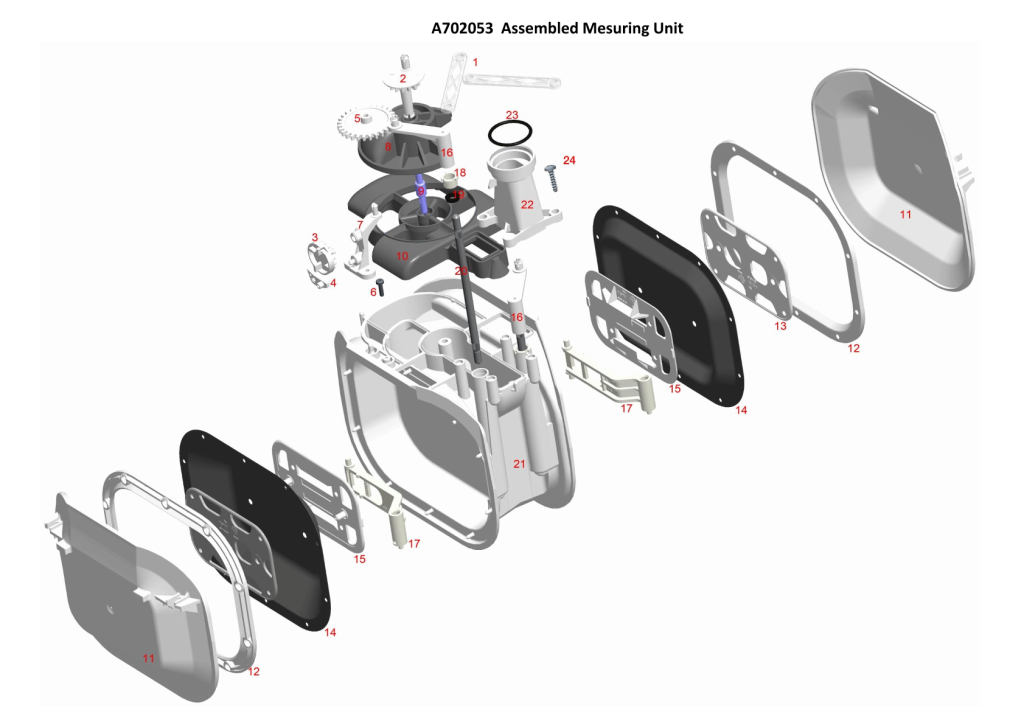 Gallus spare parts map sample
Supply cycle
Spare parts ledger, by part number
| # | Part number | Description | Repair stage | Open | In | Out | Close |
|---|
| 1 | [Gallus no.] | Calibration gear | Calibration gears | – | – | – | – |
| 2 | [Gallus no.] | Calibration gear | Calibration gears | – | – | – | – |
| 3 | [Gallus no.] | Register drive | Register drive | – | – | – | – |
| 4 | [Gallus no.] | Index cover | Register | – | – | – | – |
| 5 | [Gallus no.] | Closing Belt | Reseal | – | – | – | – |
| 6 | [Gallus no.] | Seal | Reseal | – | – | – | – |
| 7 | [Gallus no.] | Case foam | Case | – | – | – | – |
Ledger format: Open, In, Out and Close are the quantities we keep for each part number, taken from the Gallus spare parts map.
Controls
Controls we run on every cycle
1 Inventory
Exact stock level by spare part number
2 Repair output
Meters repaired per day, week, month and year
3 Installed base
Meters in use across Armenia by type and year
4 Outlier detection
Any quantity outside the baseline in any period is flagged
The operator and suppliers see exactly what we hold, use and repair
Controls
Reports and alerts on your schedule
We report at the frequency our suppliers and the operator need
Daily
Weekly
Monthly
Quarterly
Annual
Recurring reports
- Stock by part number
- Repairs by period
- Installed base by type
Red-flag alerts
- Outlier quantities in any period
- Low stock before it hurts supply
- Sent to the contacts the operator names
Repair process
Repair process in eight stages
1
Intake and log
Inventory control4
Replace calibration gears
5
Sealing and repaint shell
7
Test accuracy and leaks
Quality control8
Verify and release
Inventory control
Stage 1
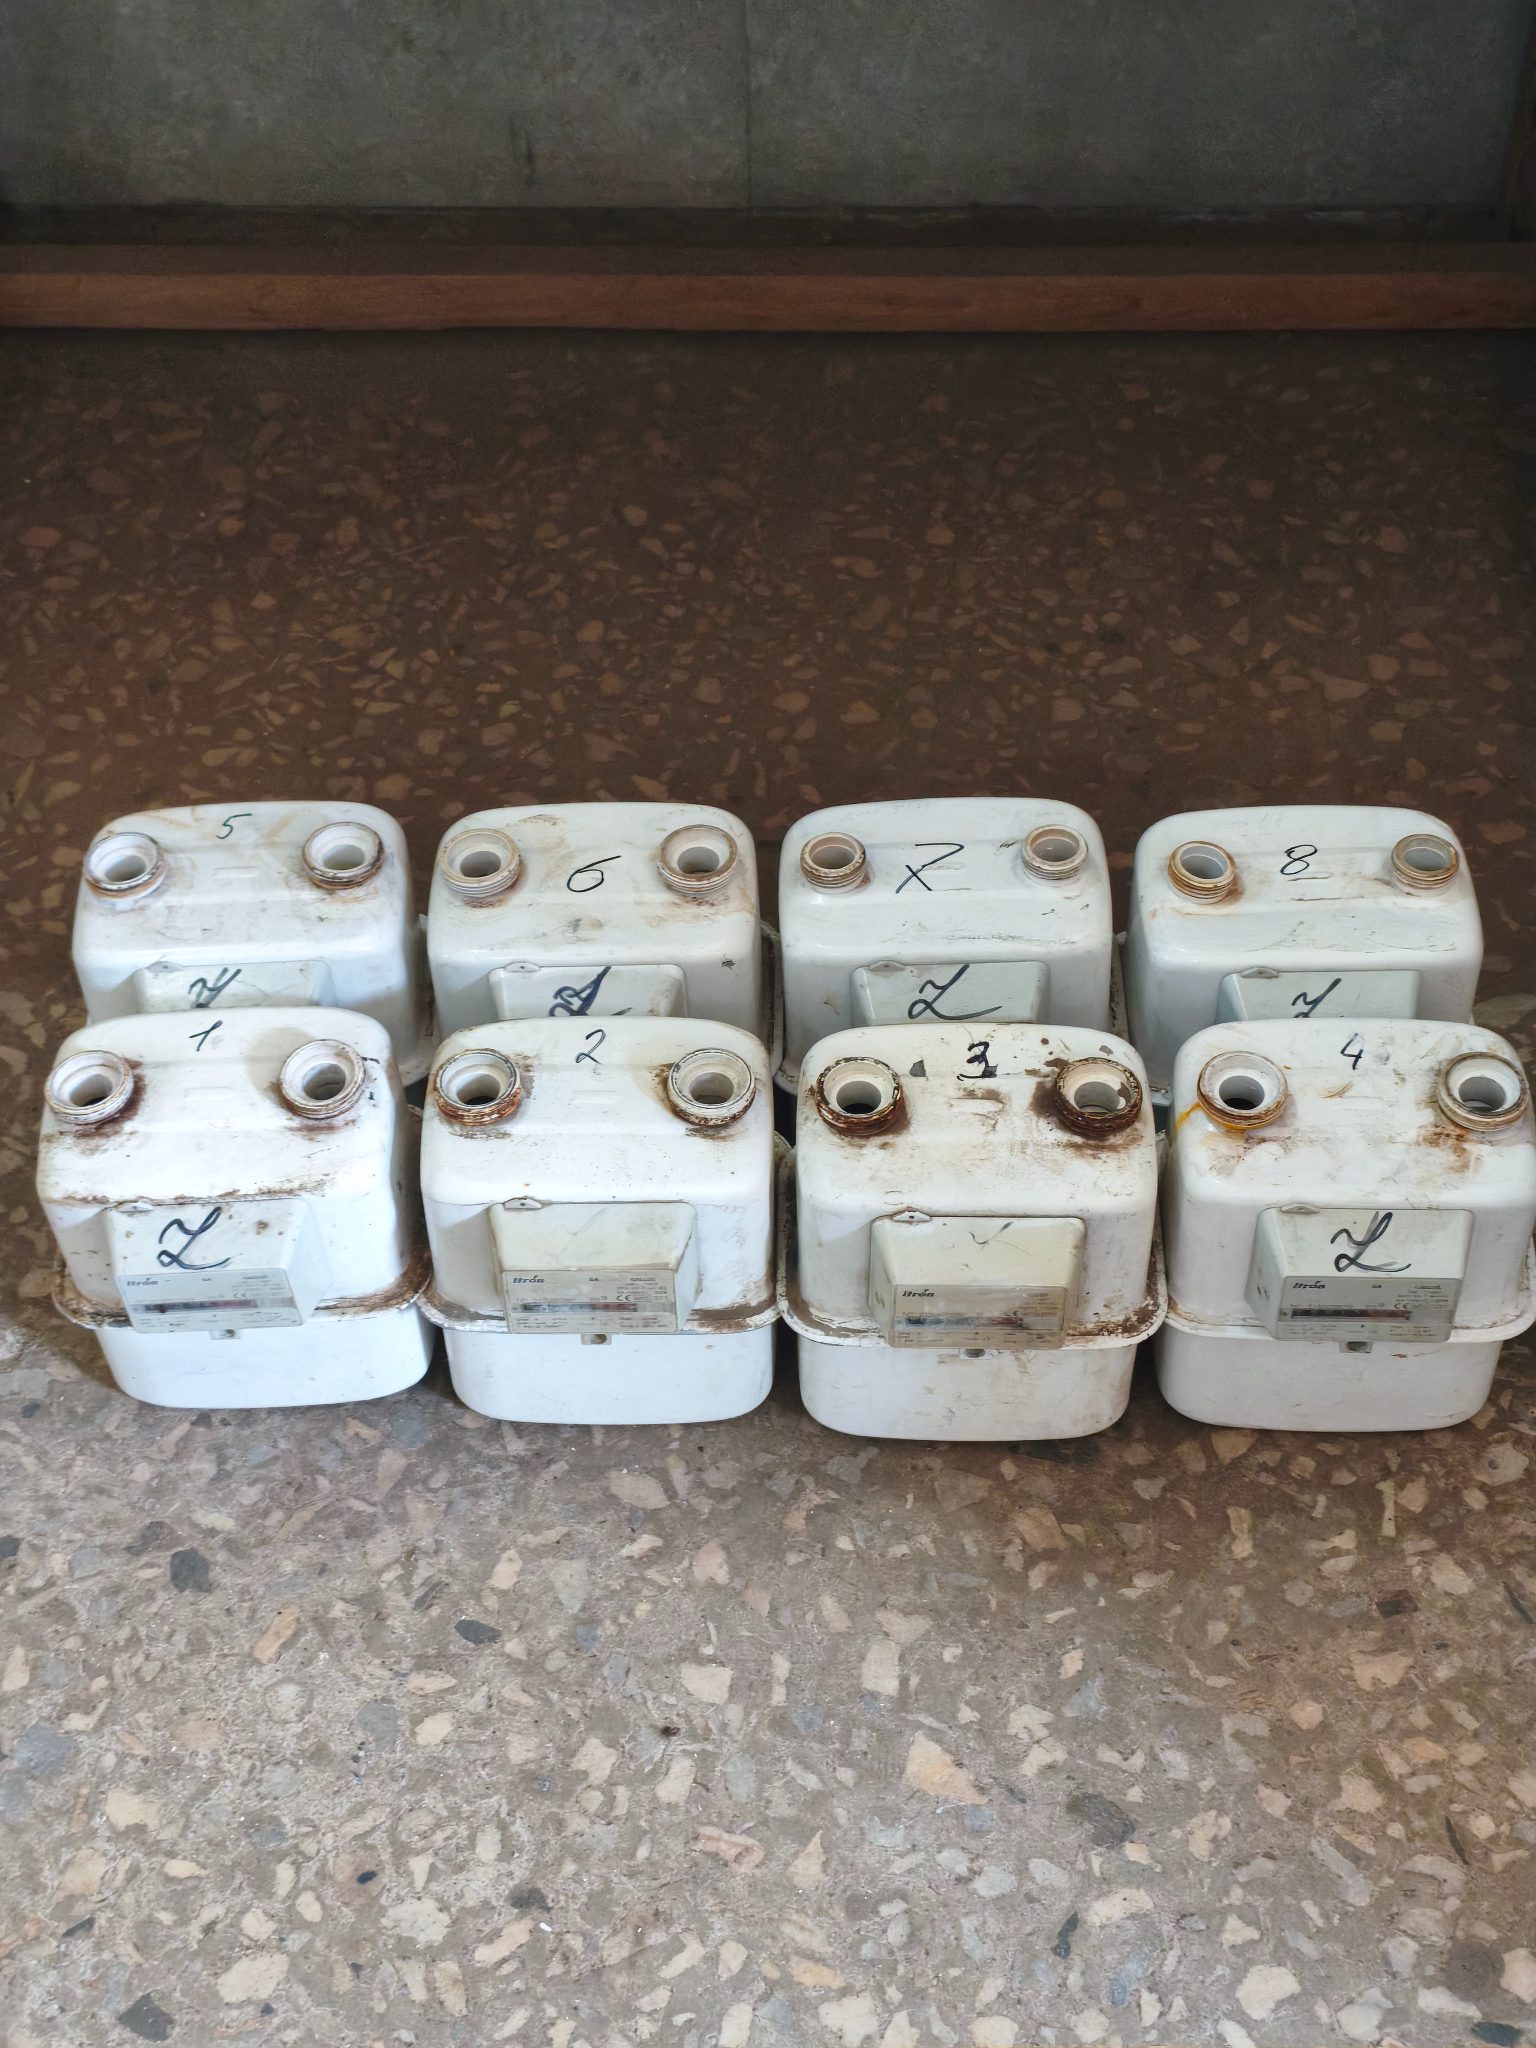
Intake: meters waiting for repair
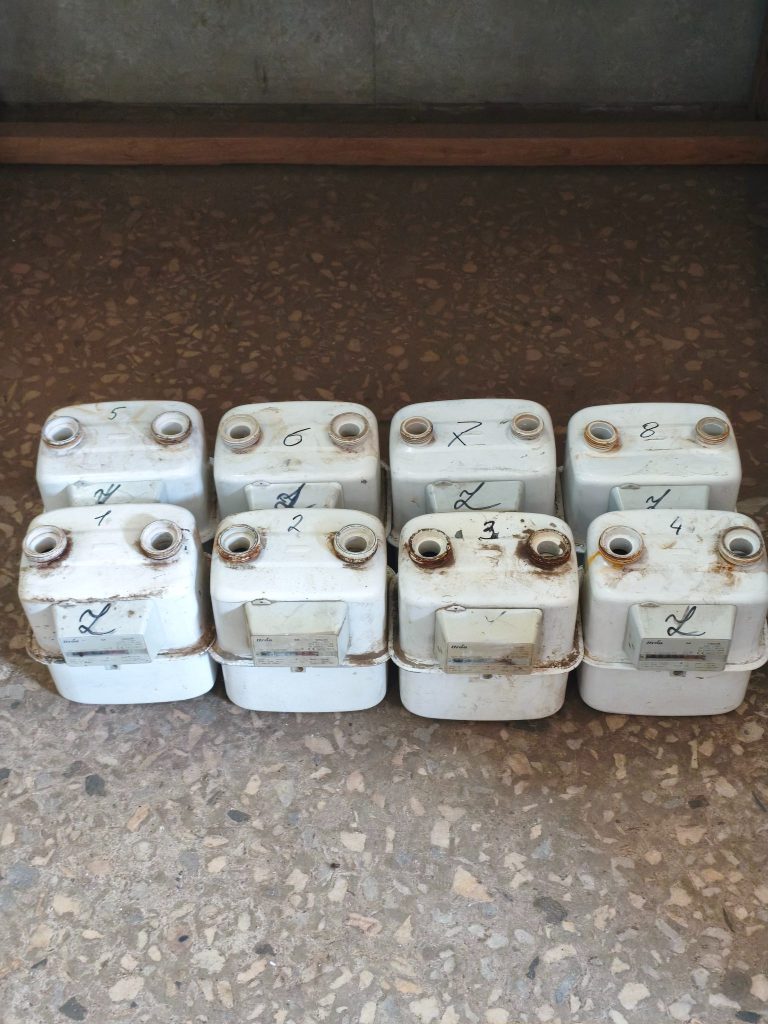 Meters waiting for repair
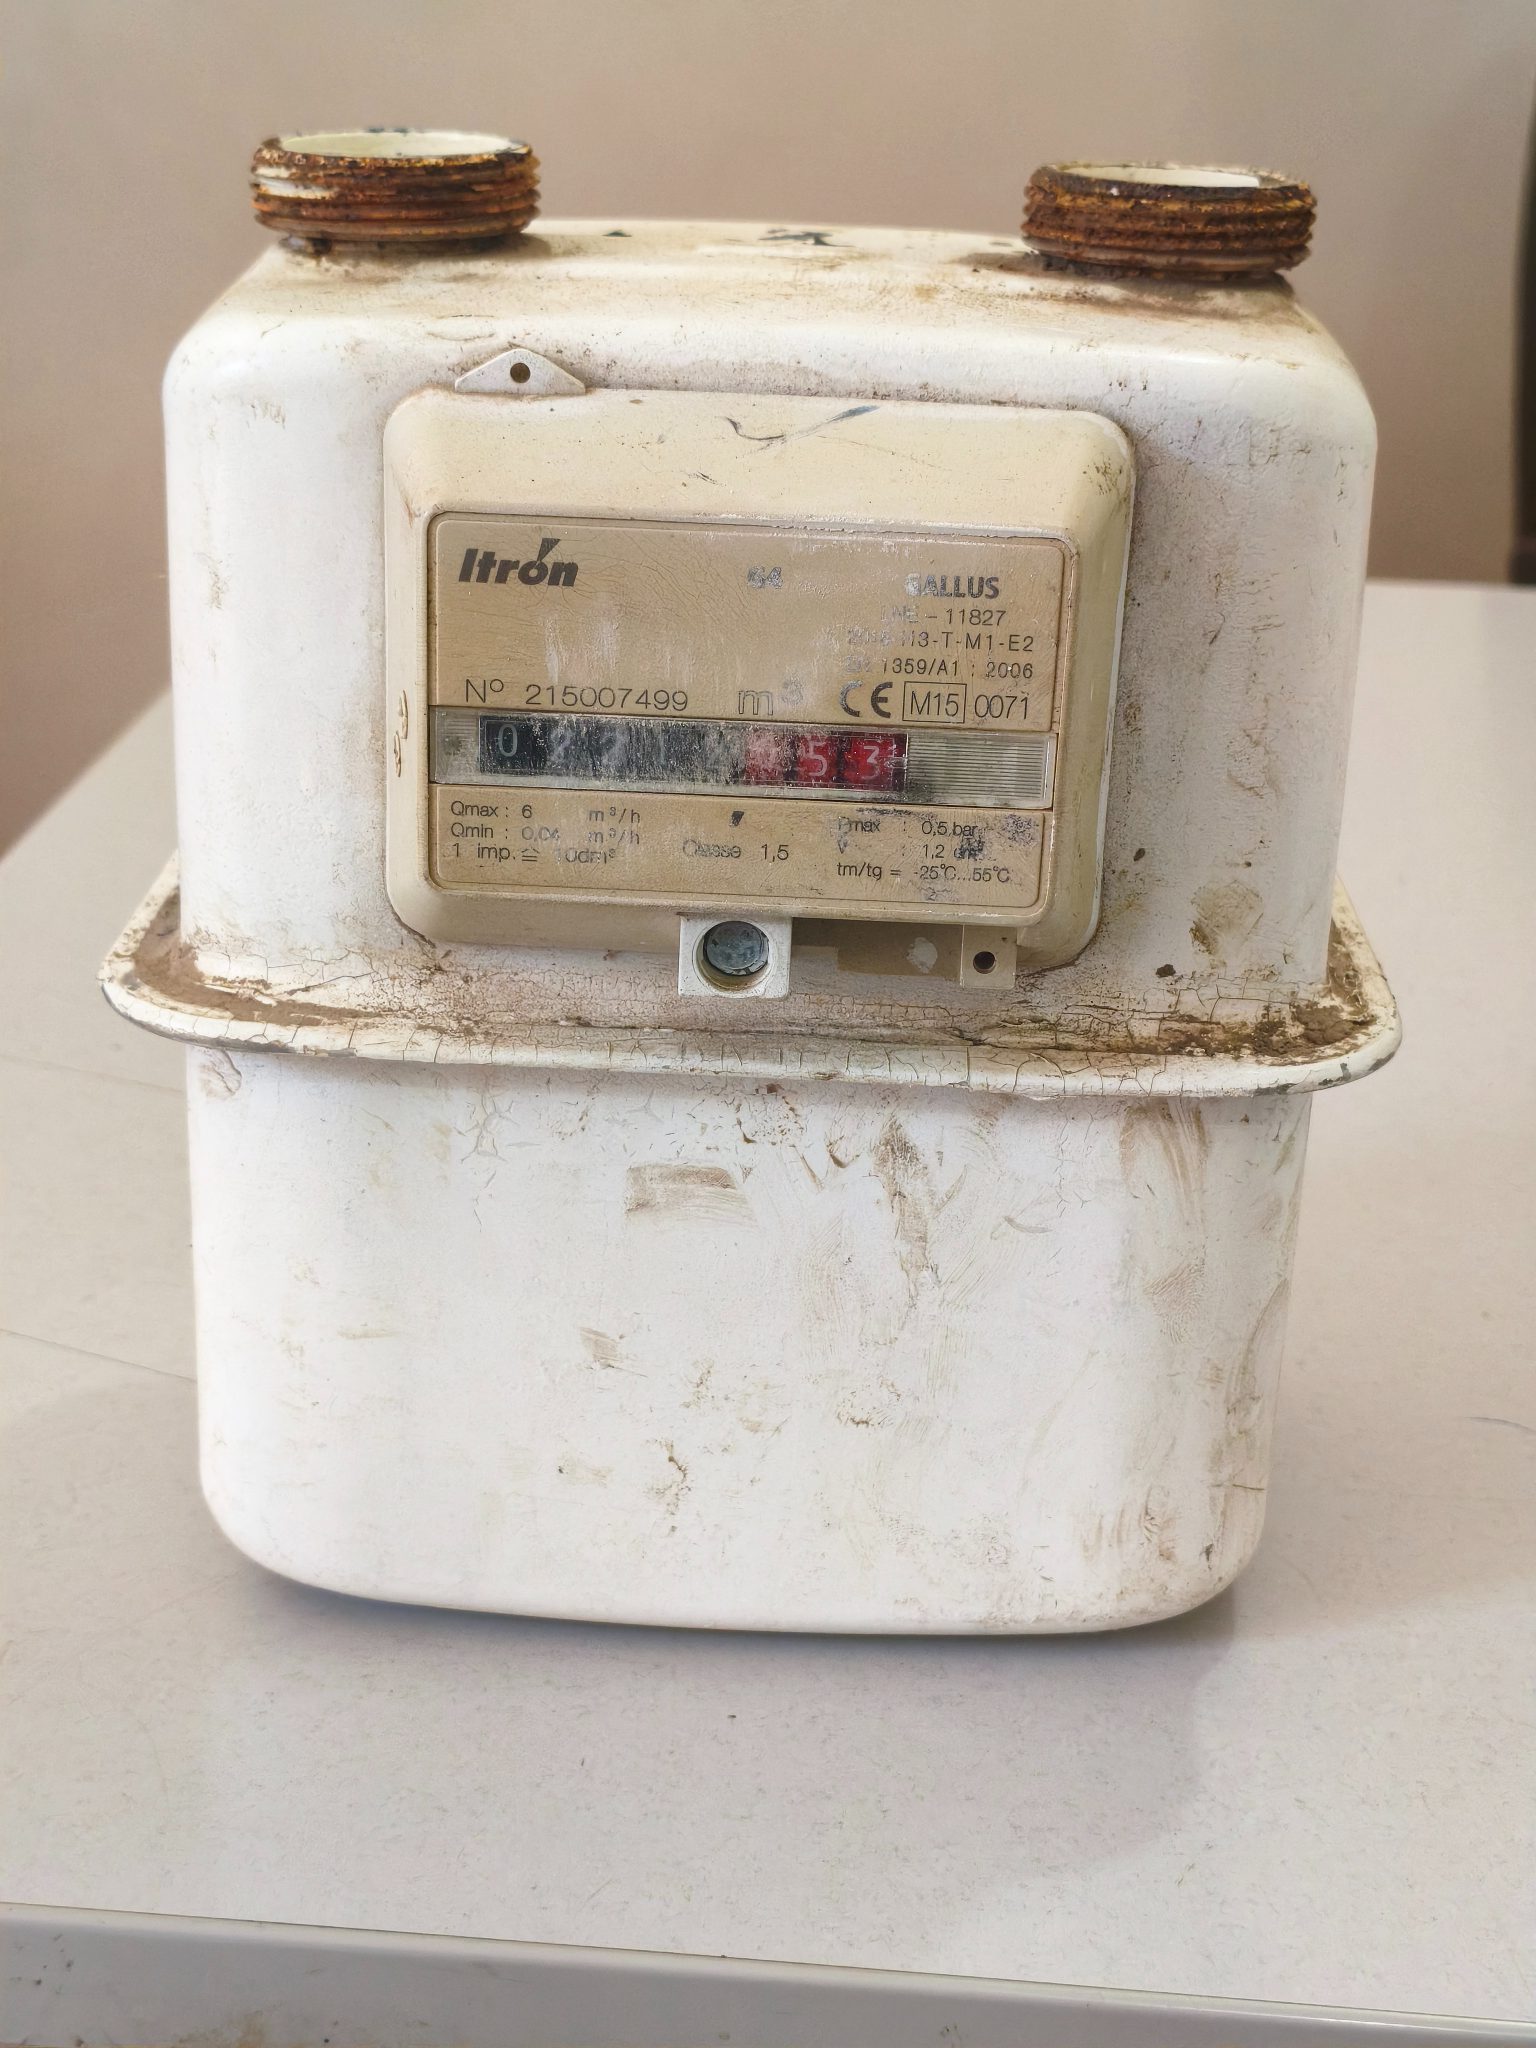
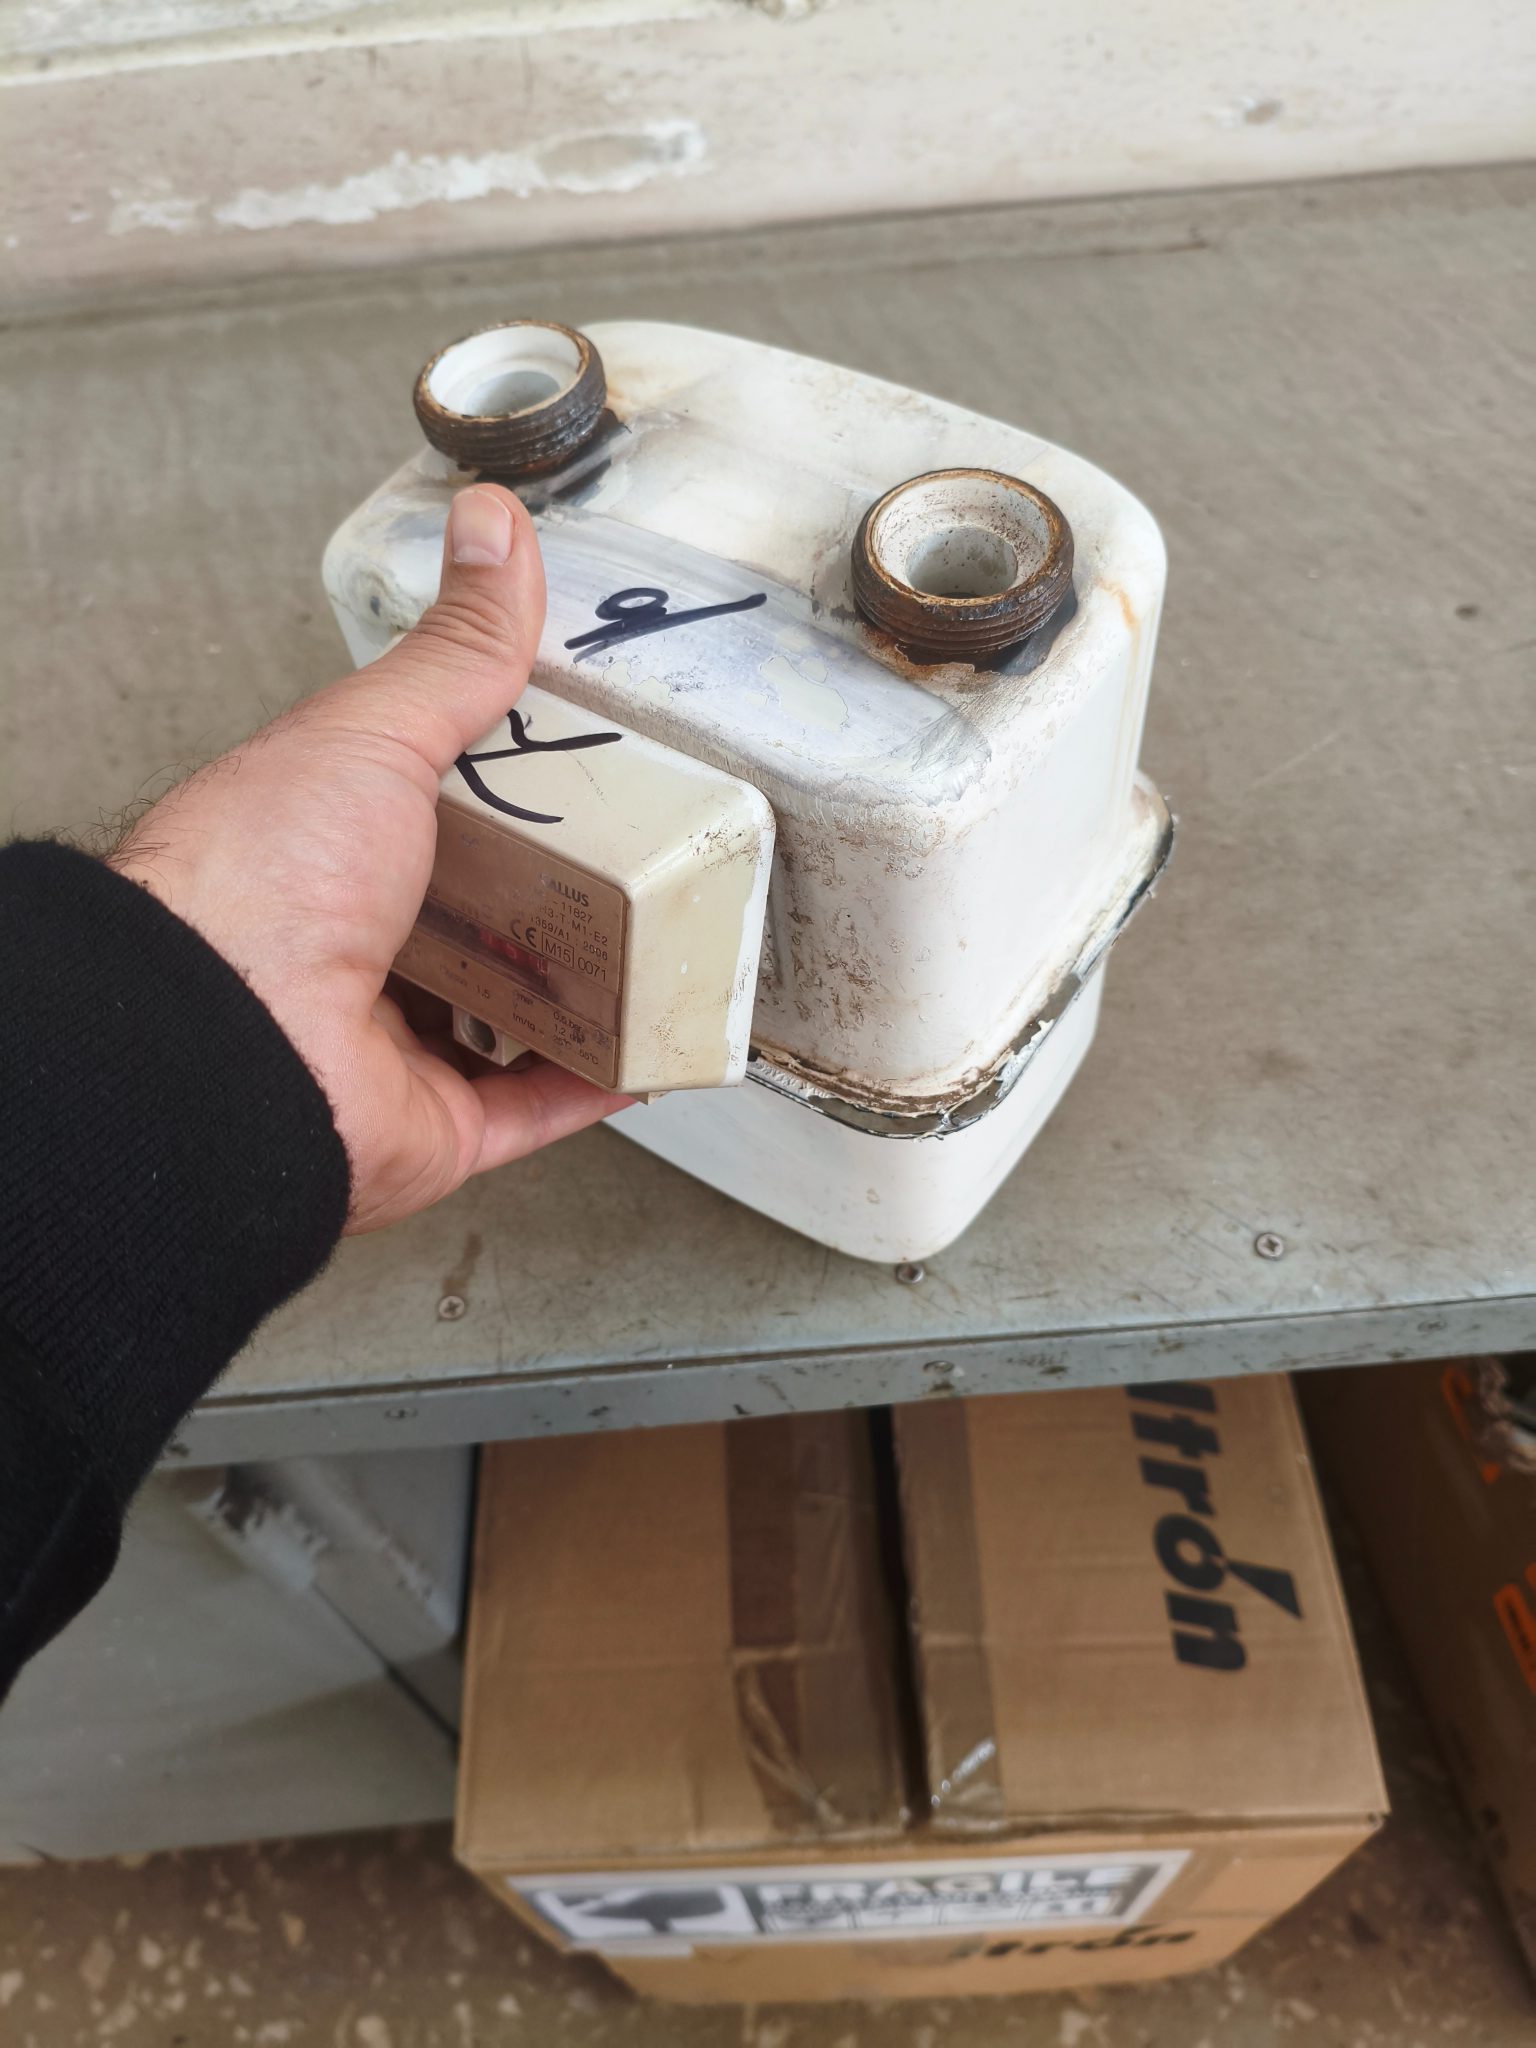
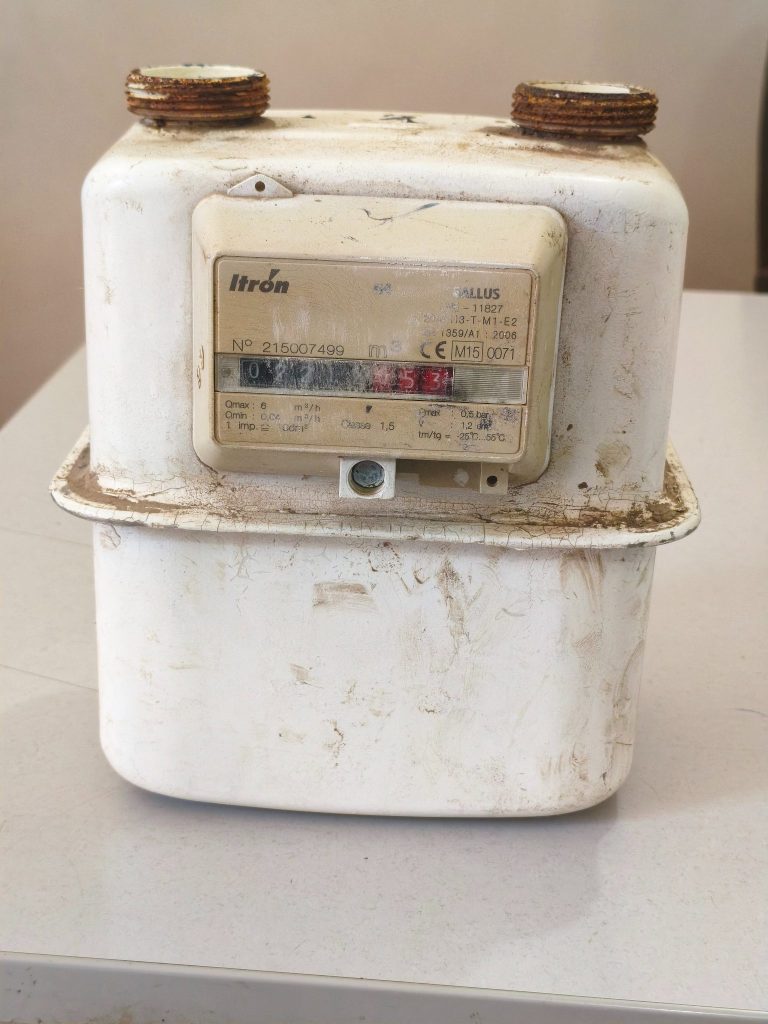 An old Gallus meter before repair
Each meter is counted, logged by type and serial number, and tracked from here.
Stage 2
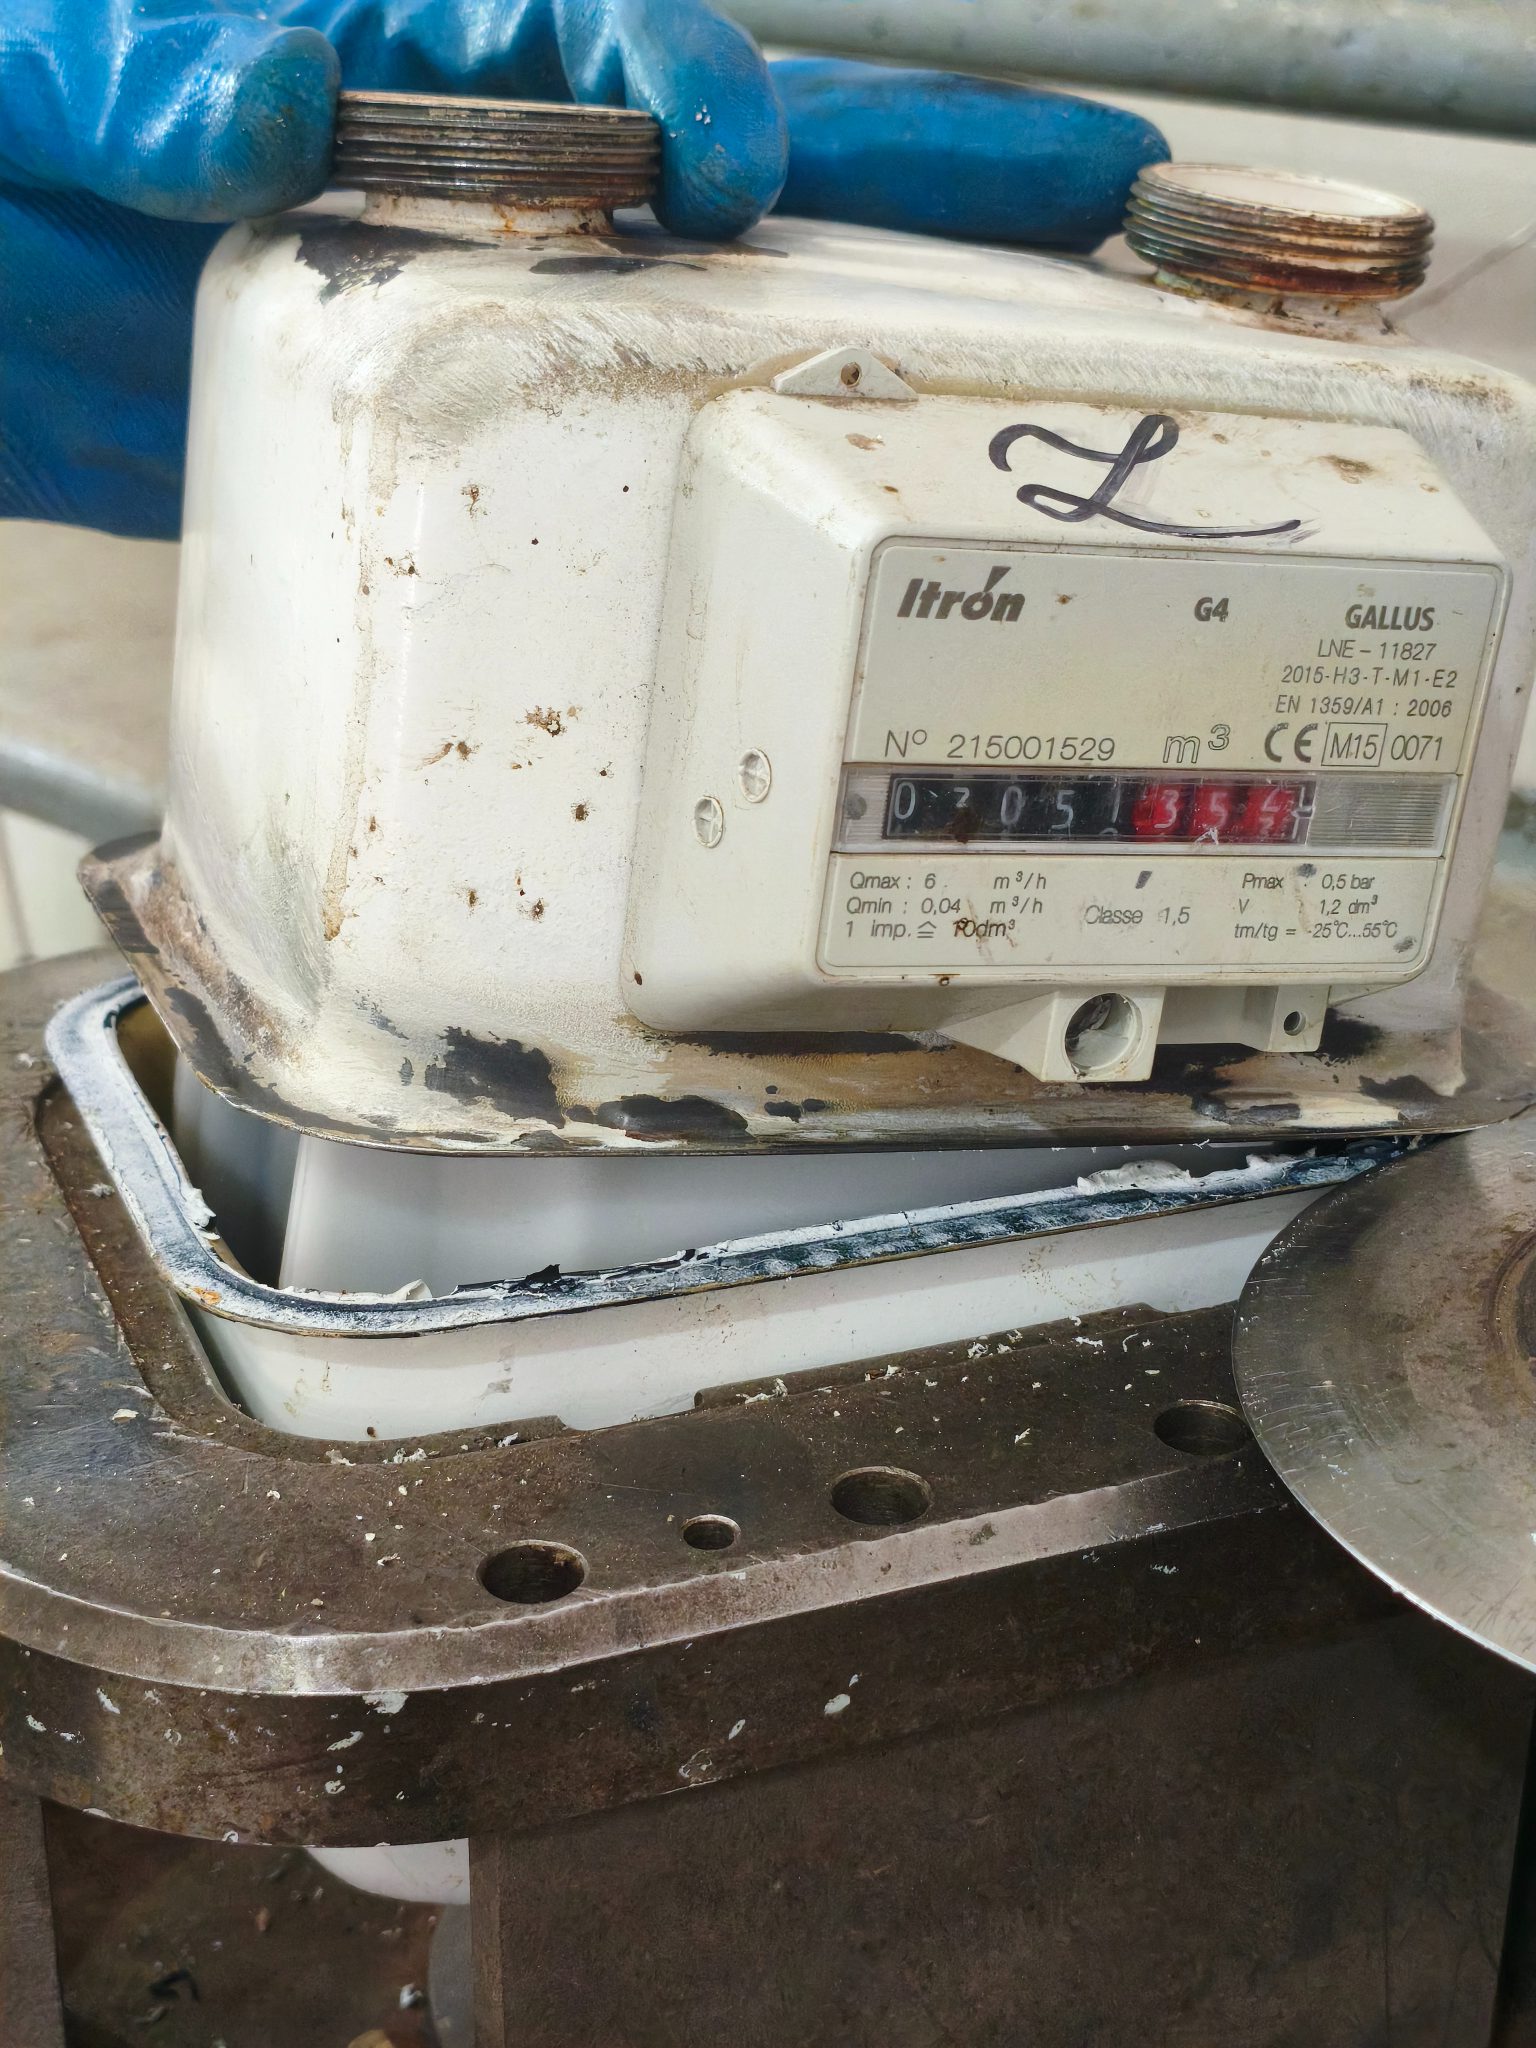
Opening the case
- Remove the seal or closing band
- Open the corpus (case)
- Check the register and gears inside
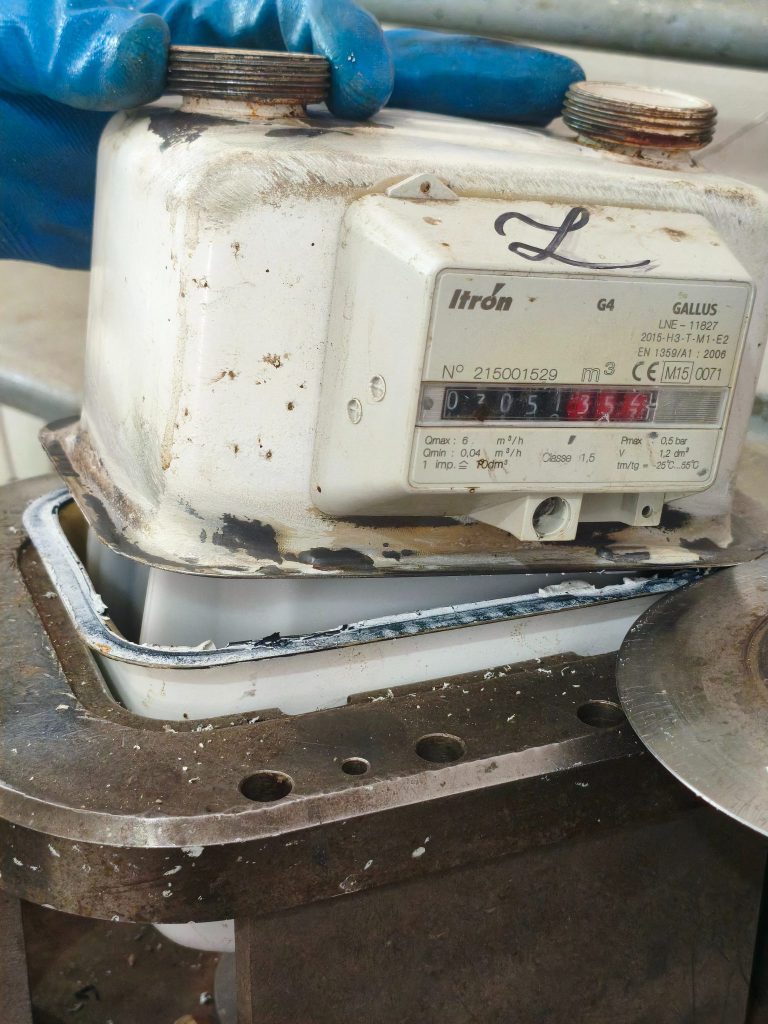 Closing band removed, case opened
Stage 3
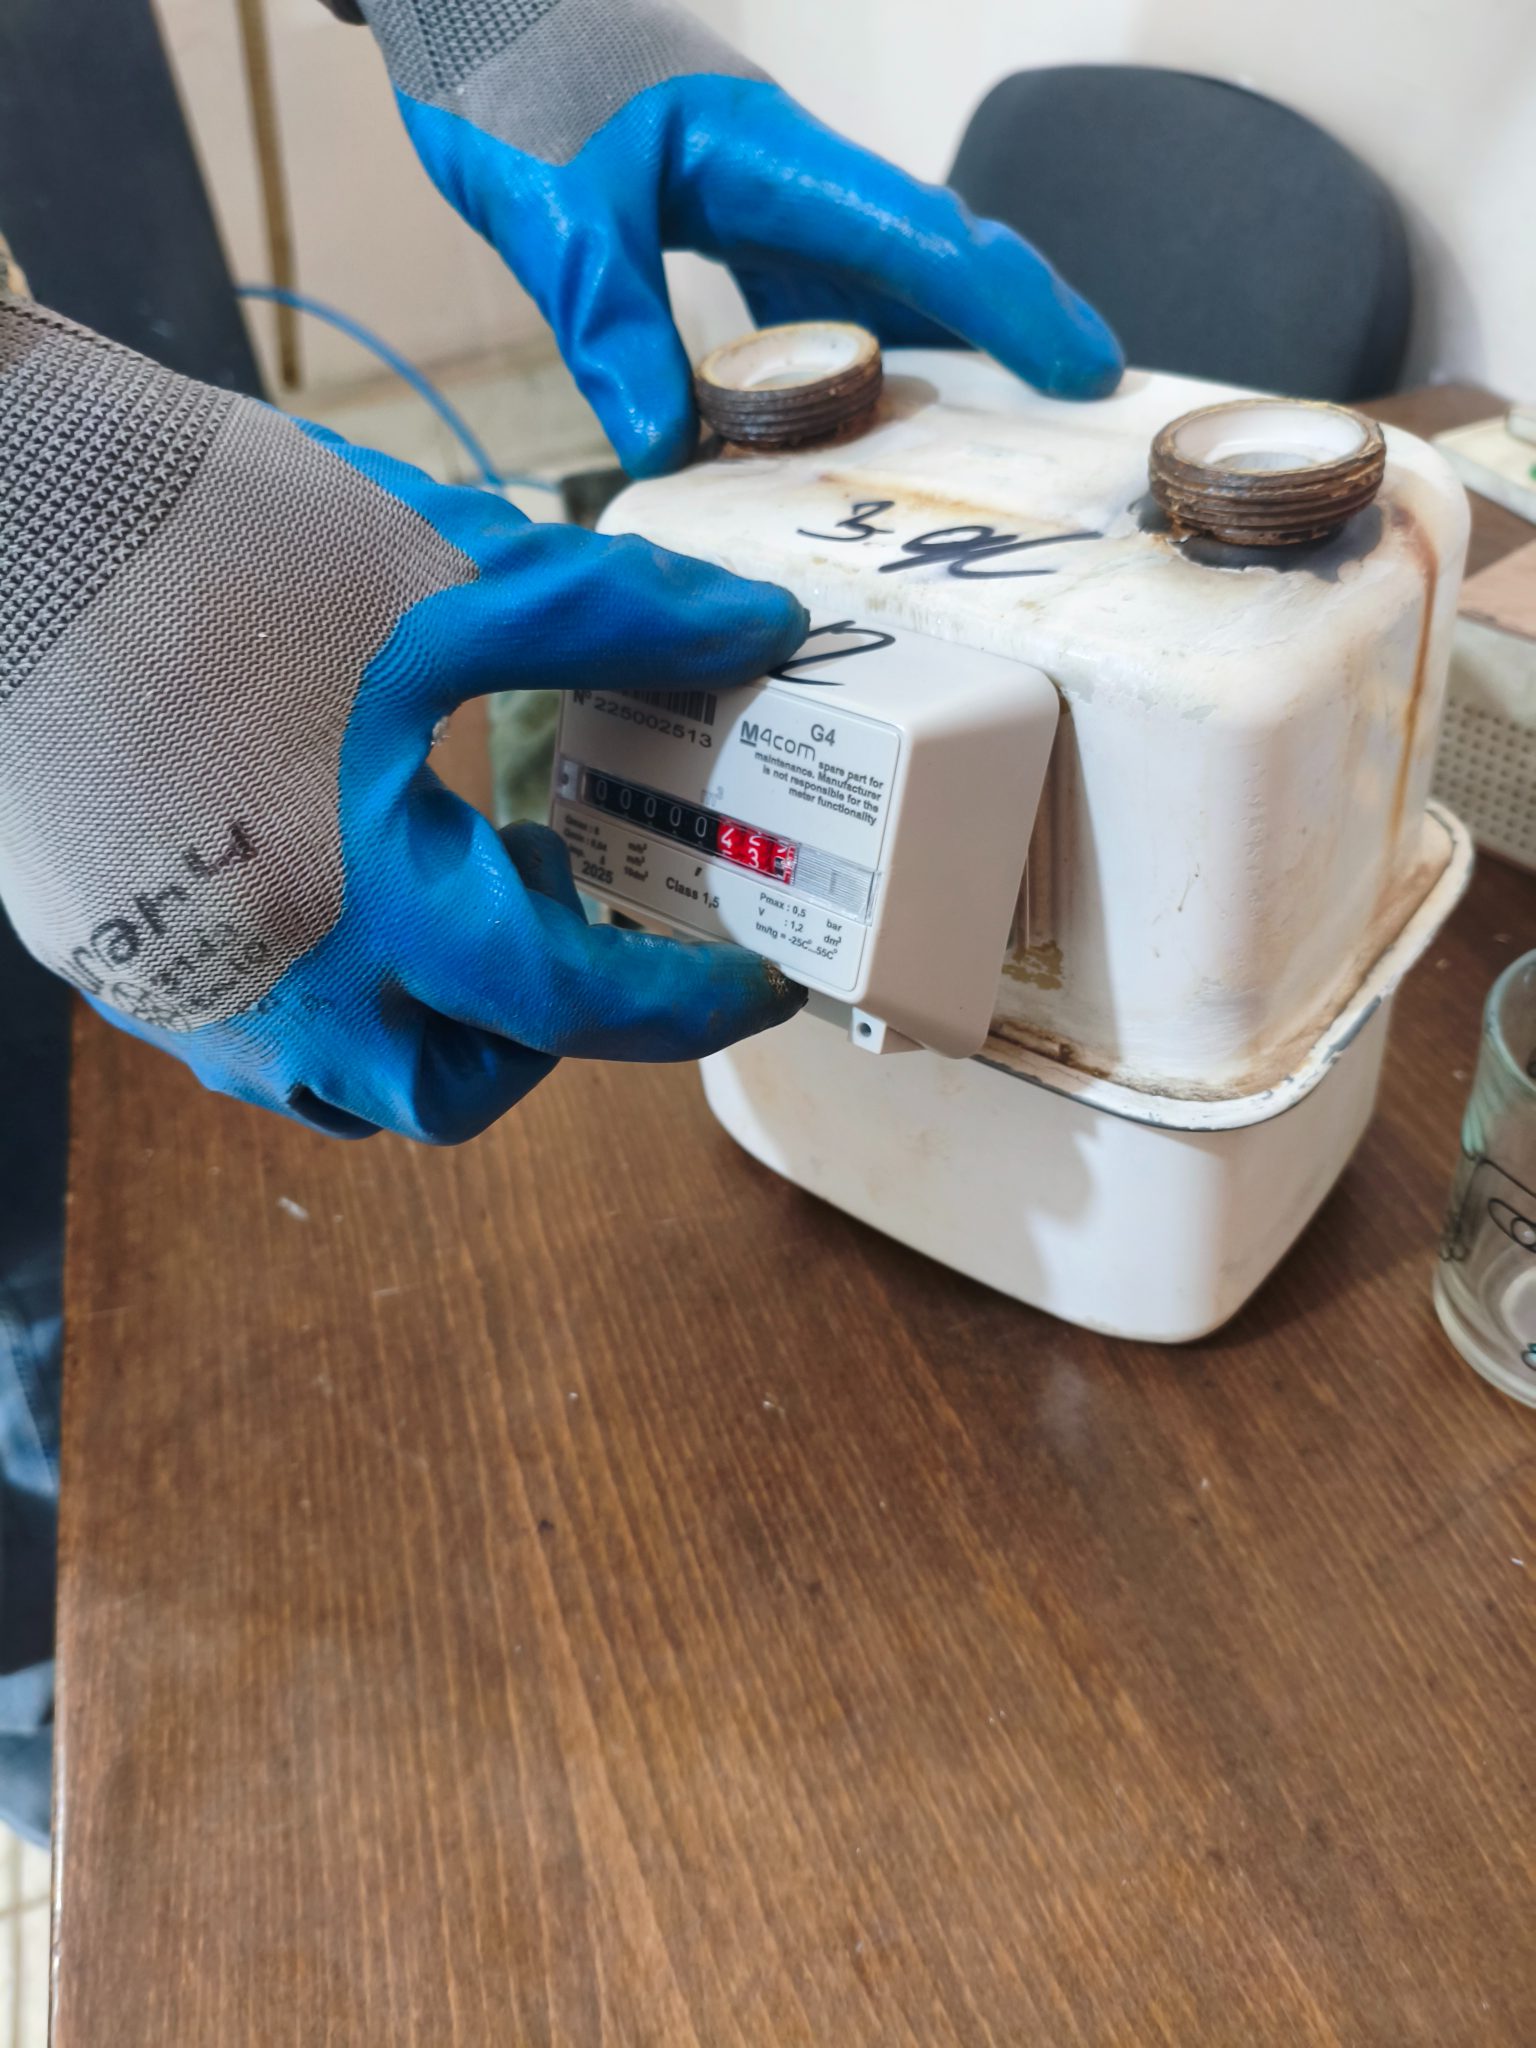
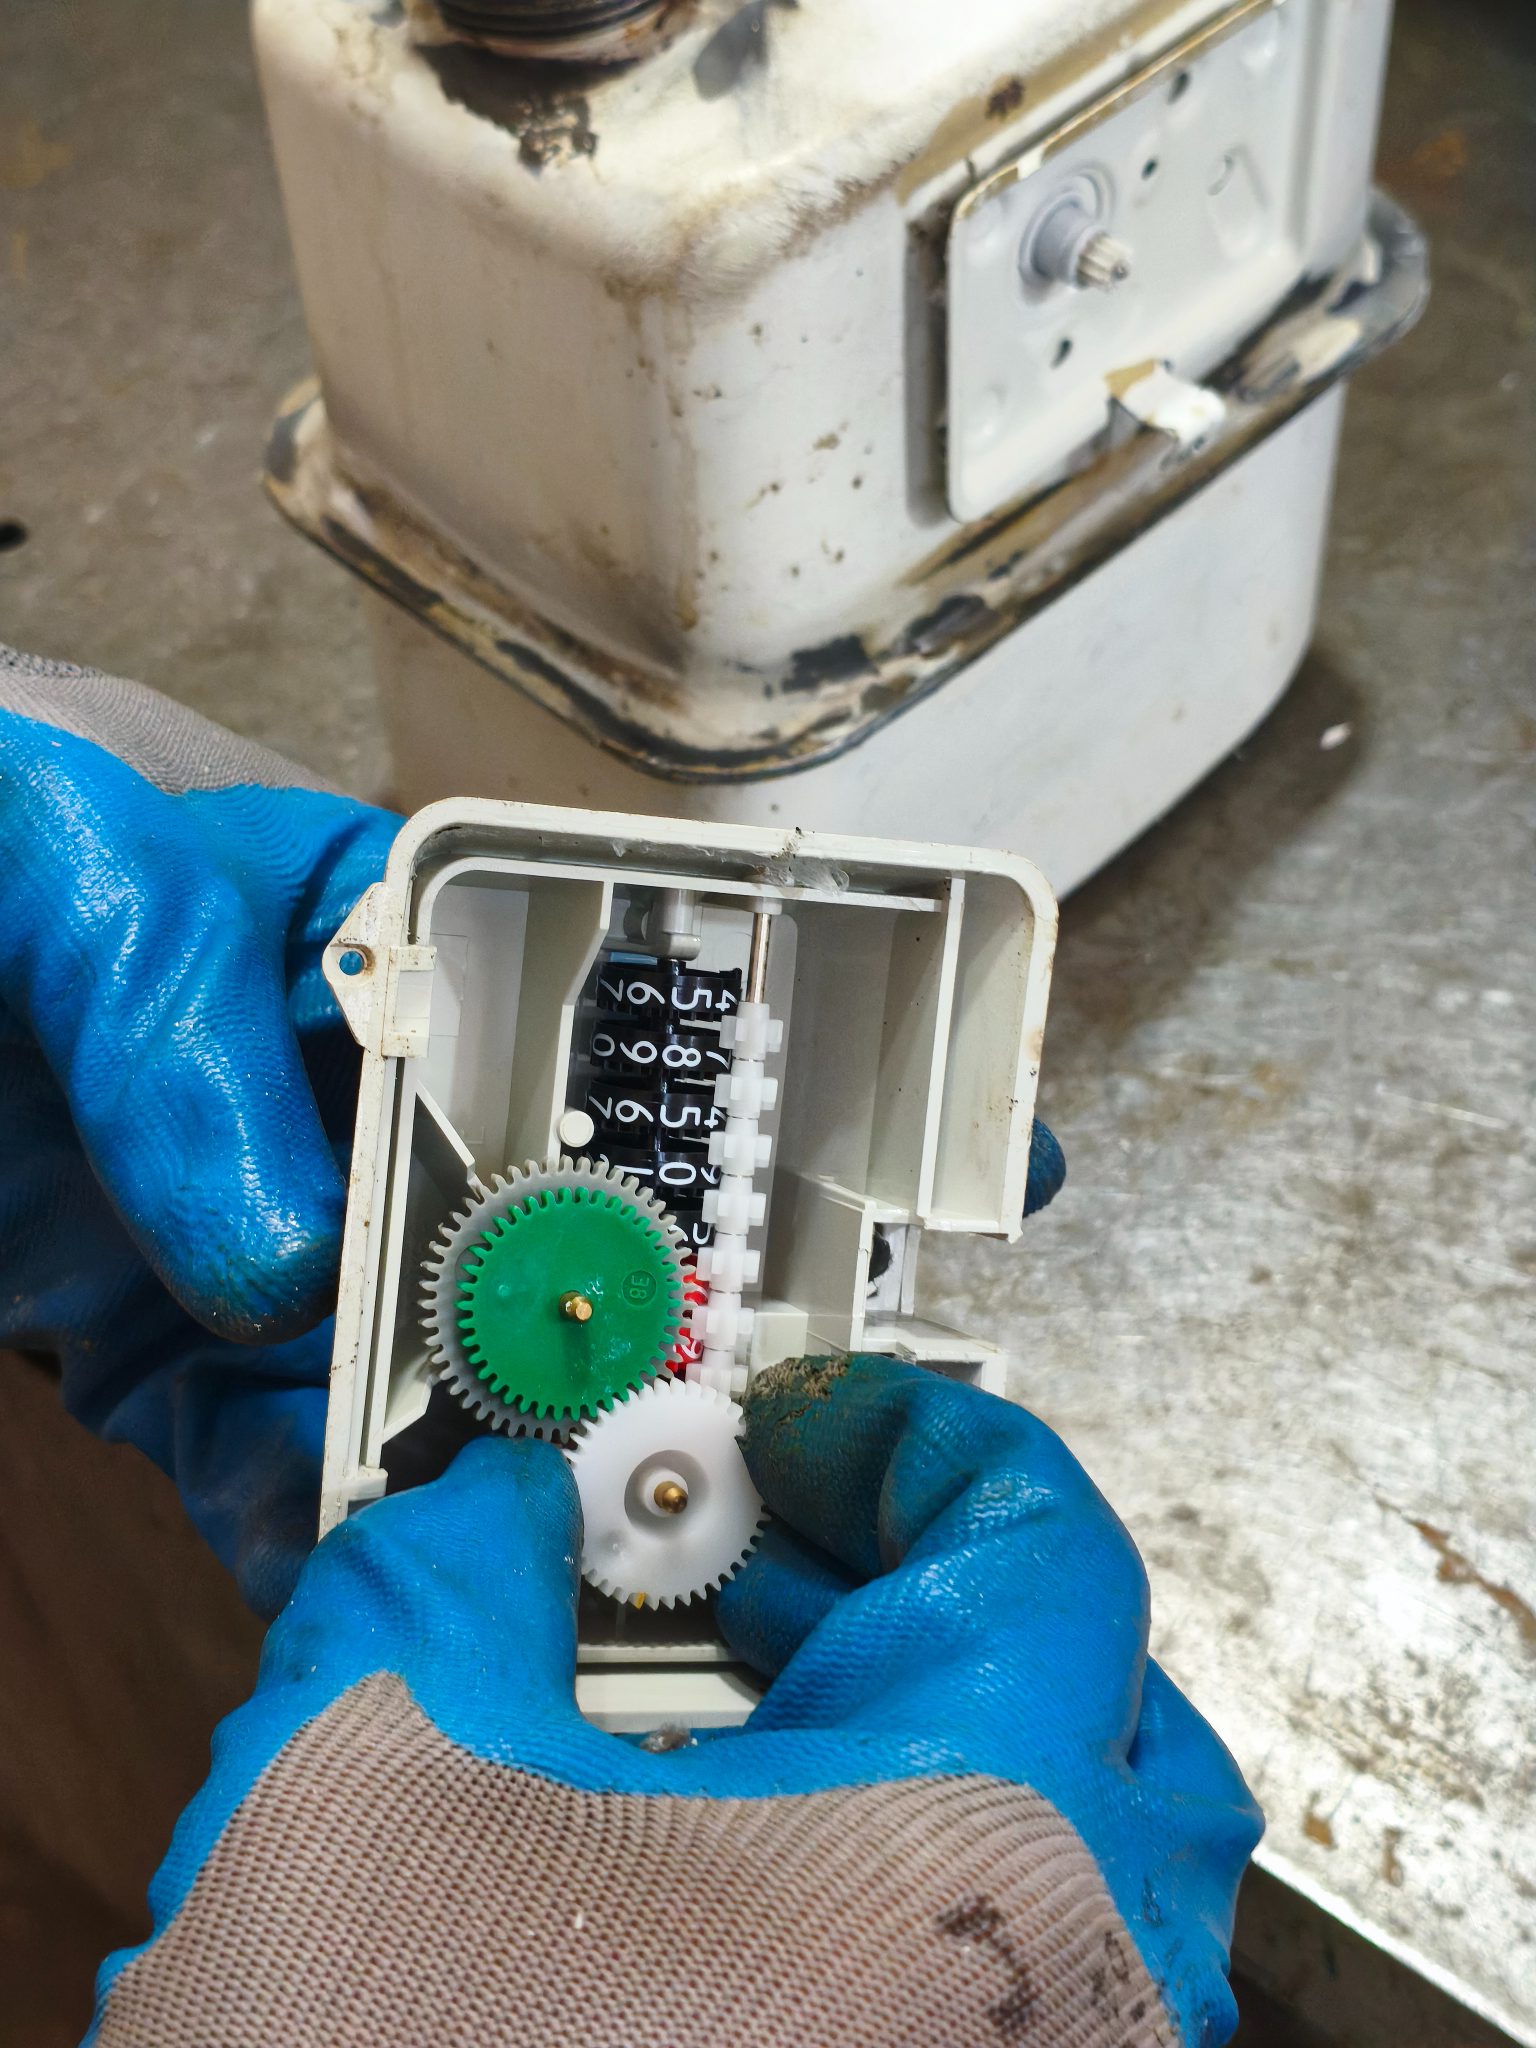
Replacing the register
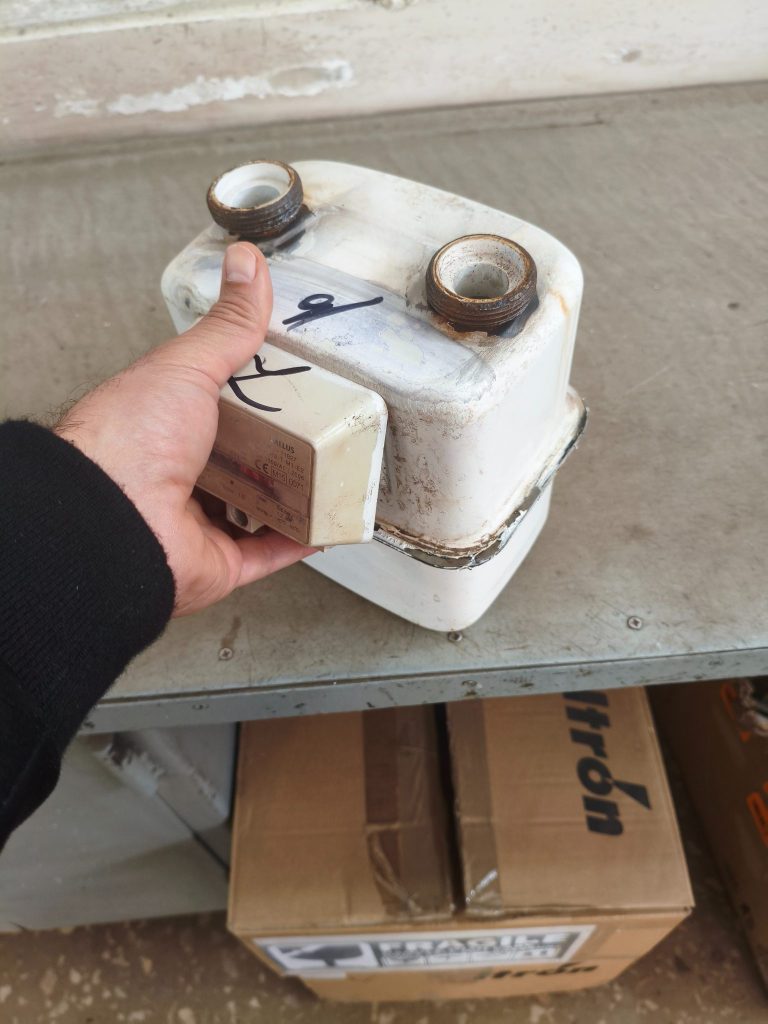 Removing the old register
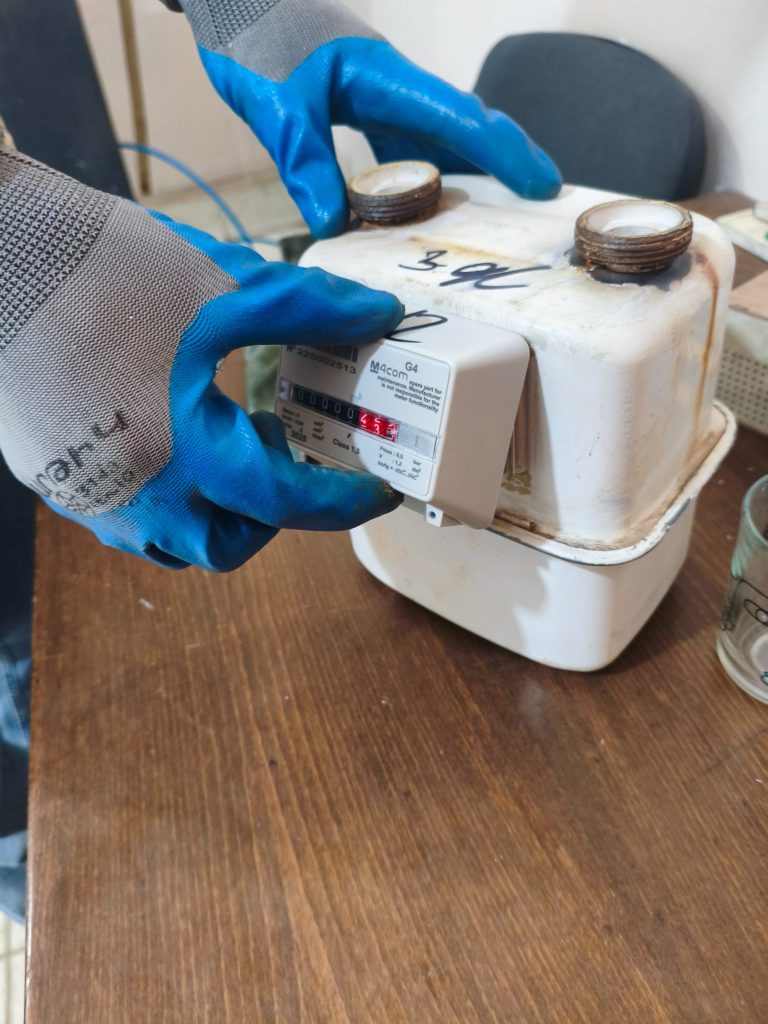 Fitting a new register
Register is the main spare part drawn on request forms.
Stage 4
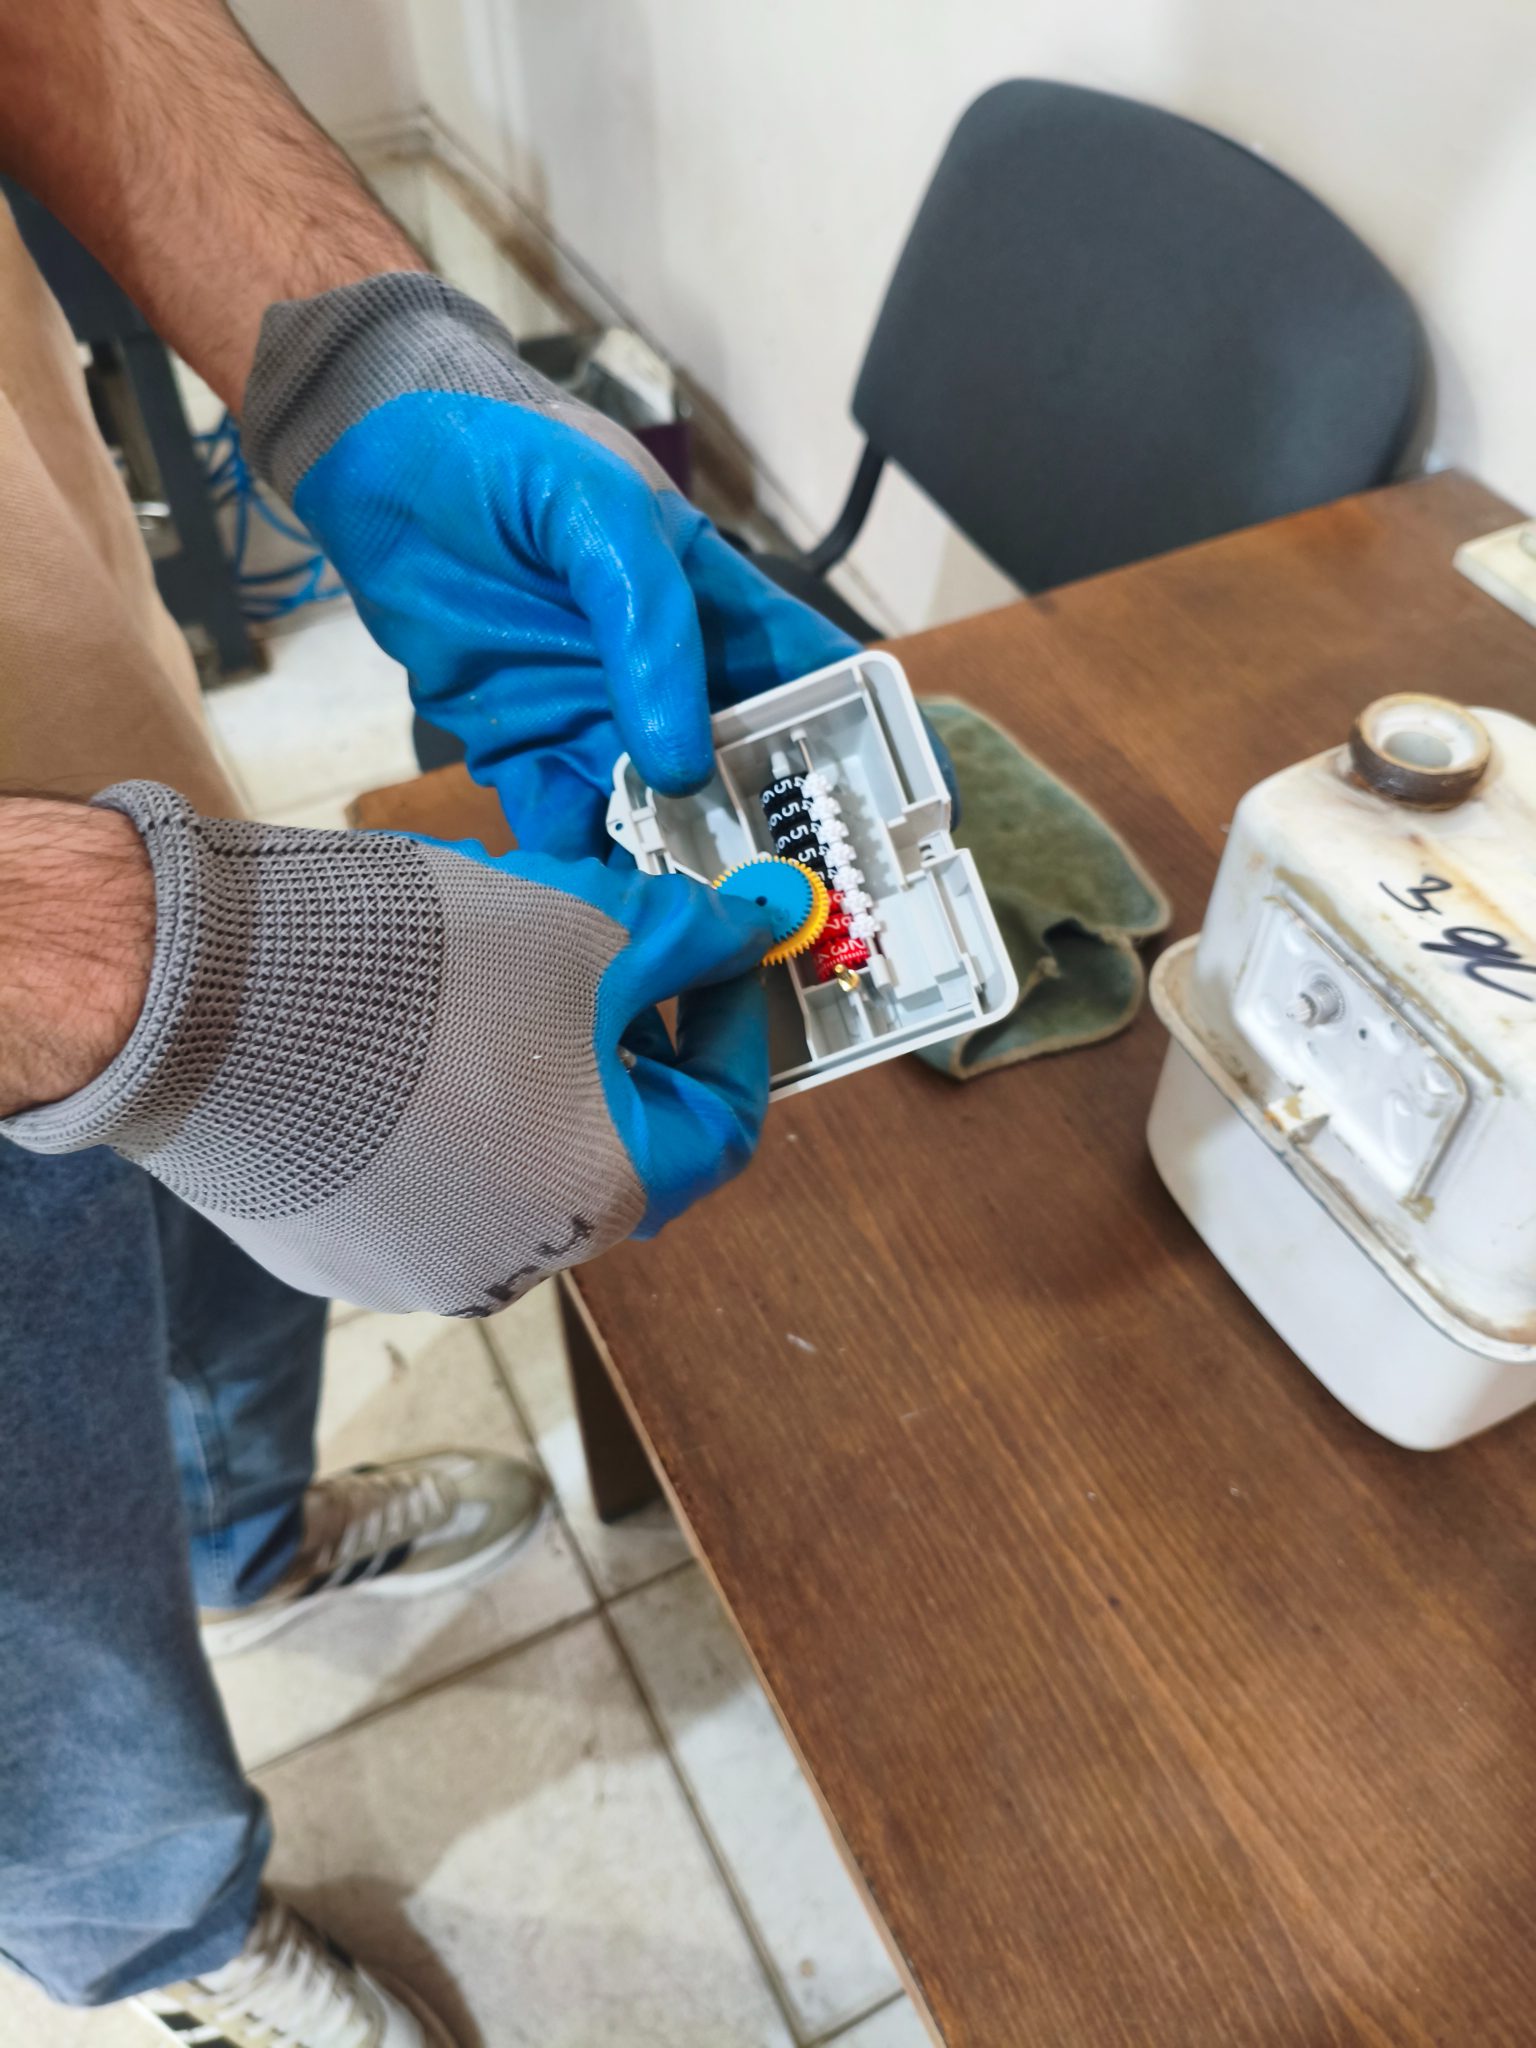
Replacing calibration gears
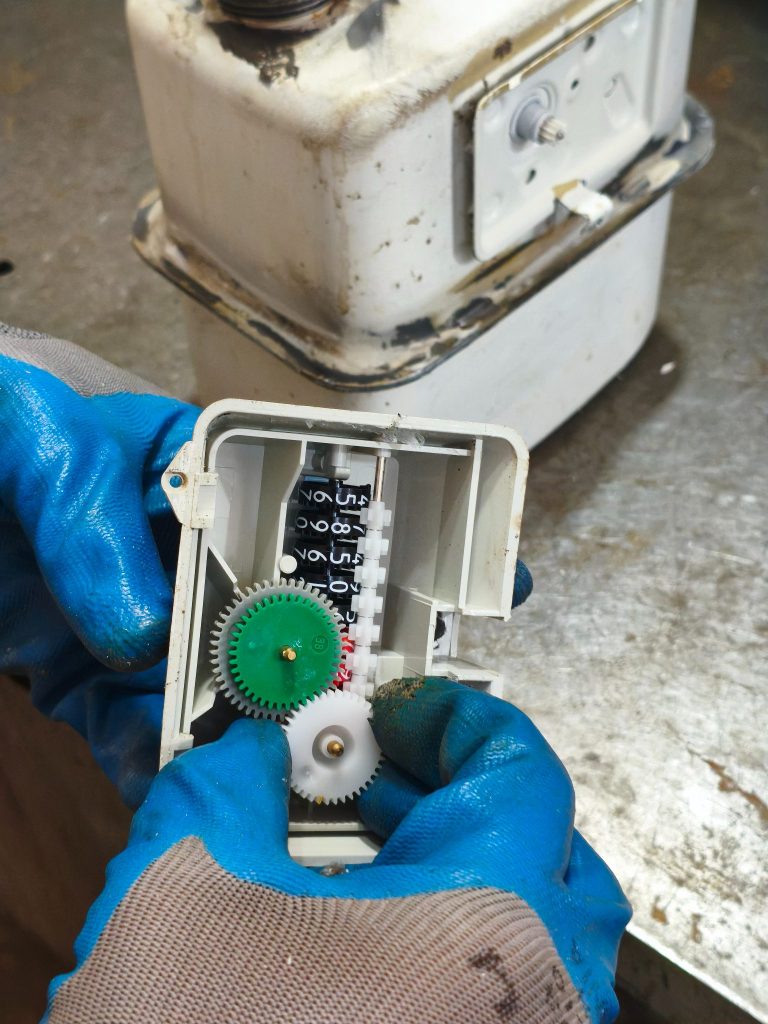 Removing calibration gears
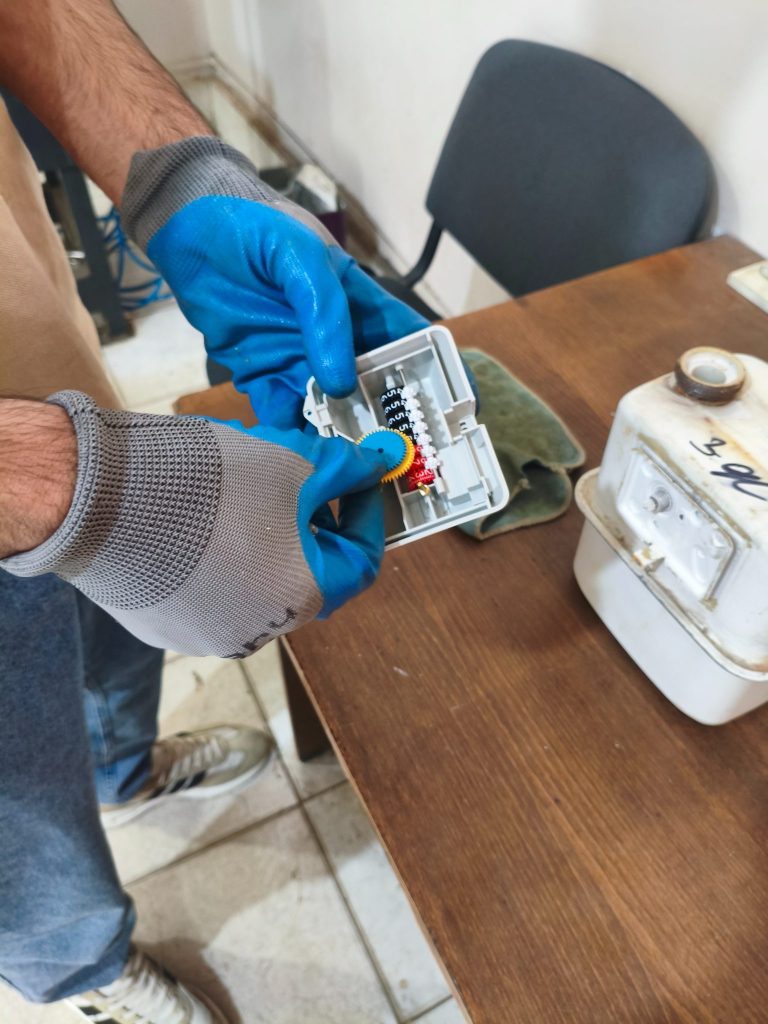 Installing a new gear
Frequently replaced gears are stocked and tracked by part number.
Stage 5
Sealing and repainting the shell
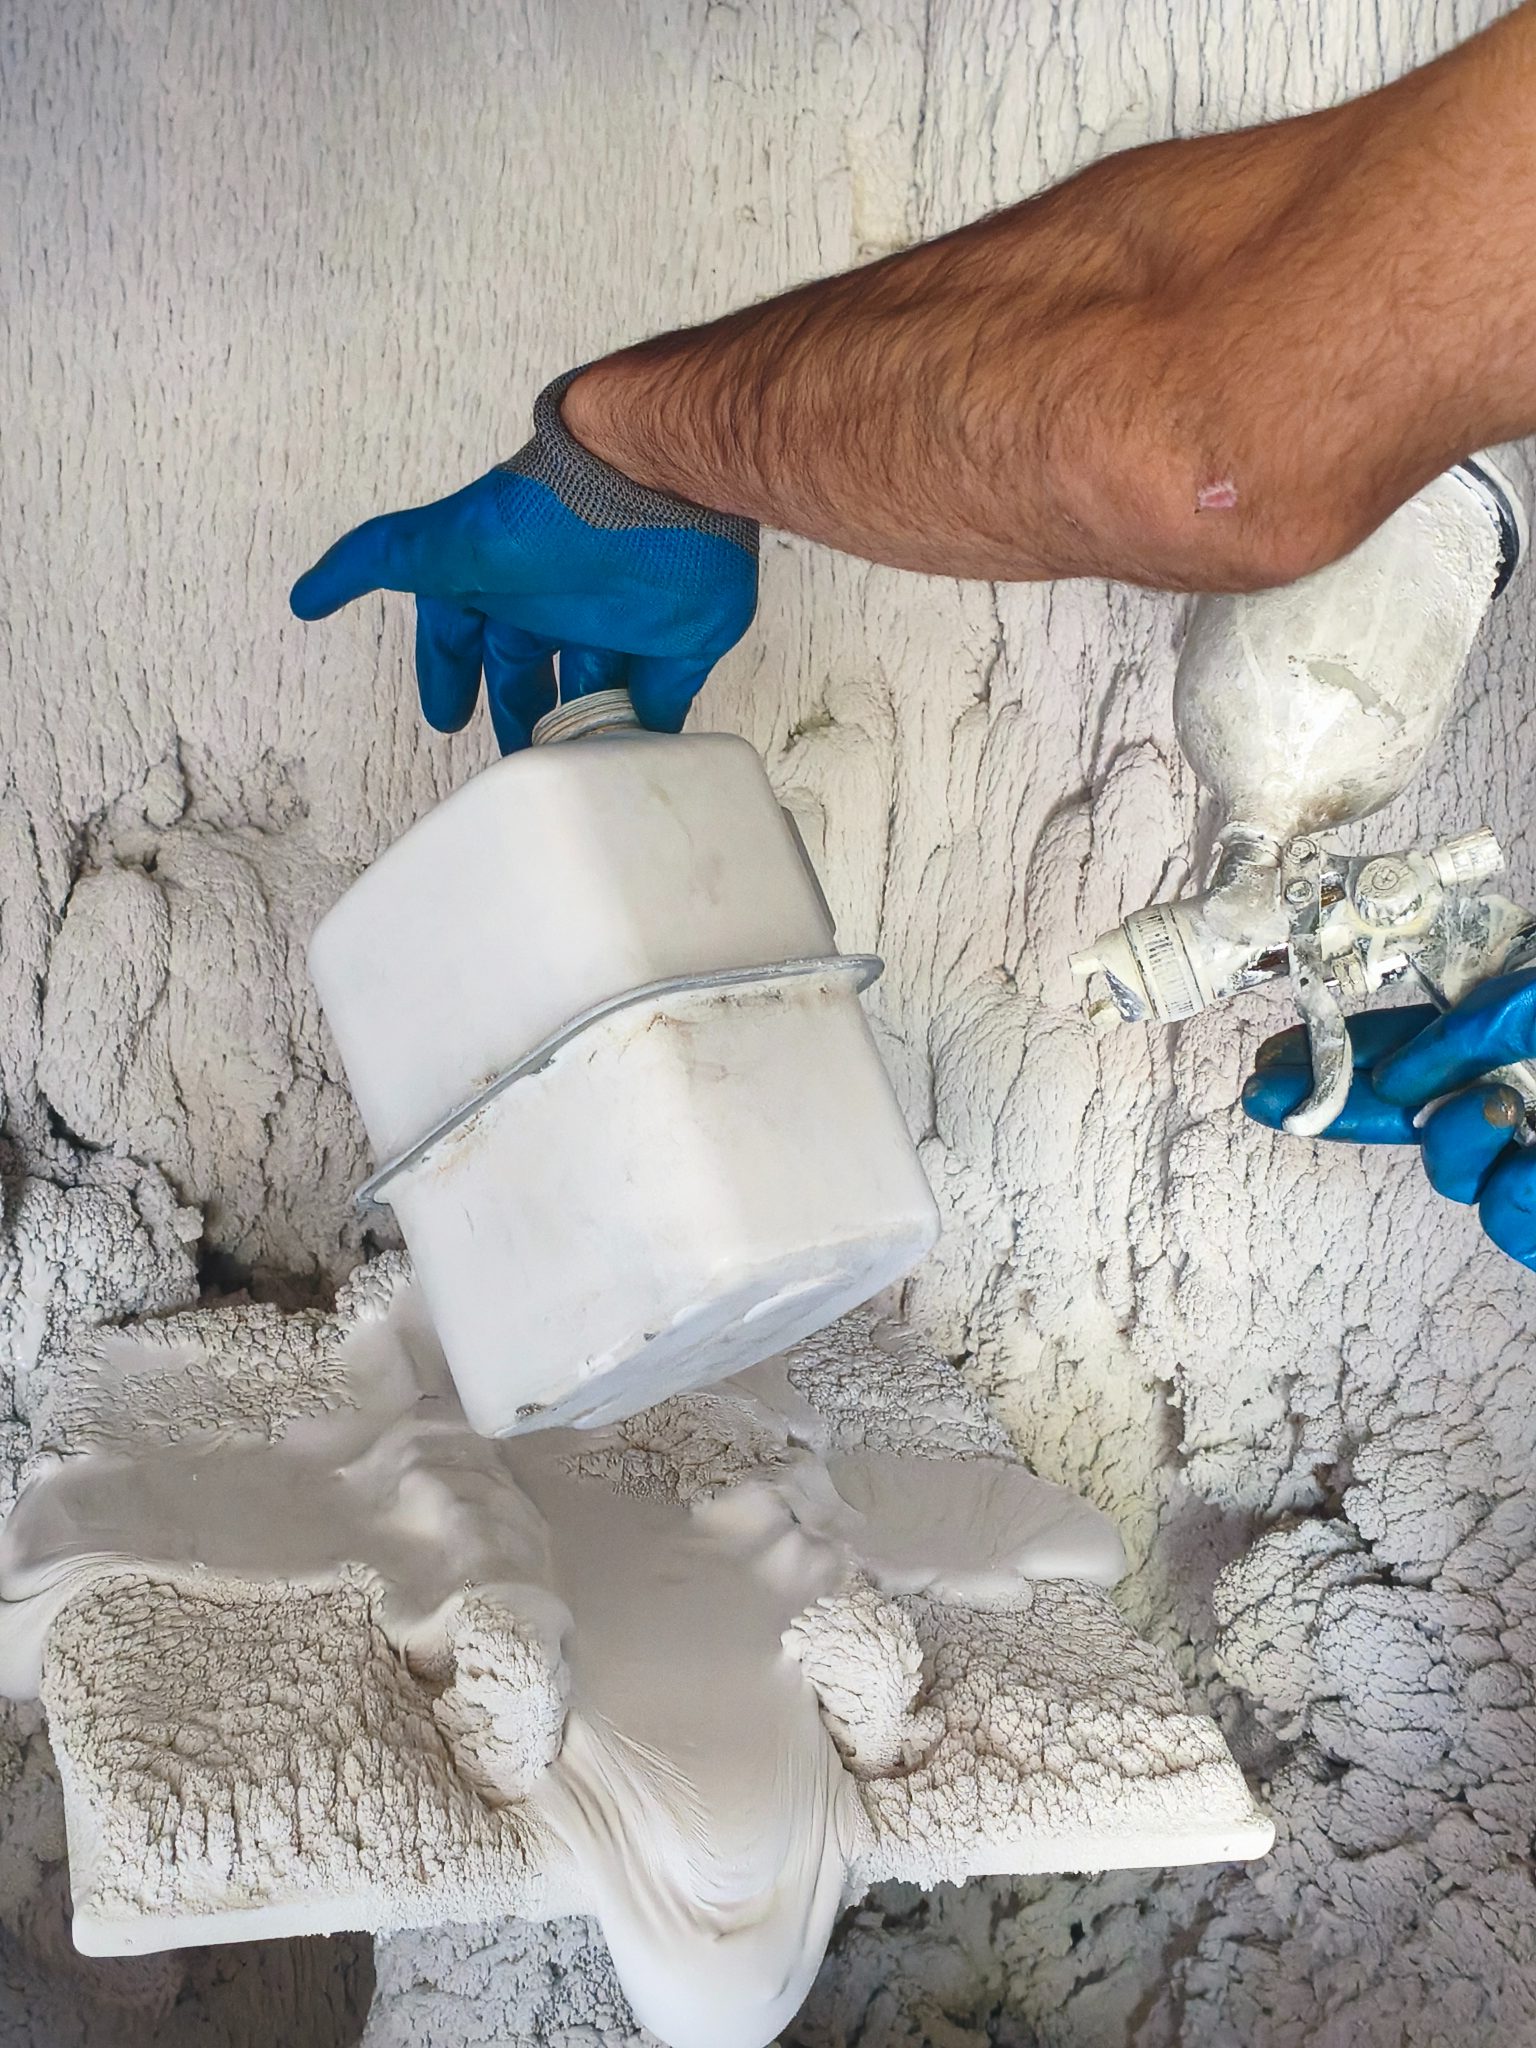
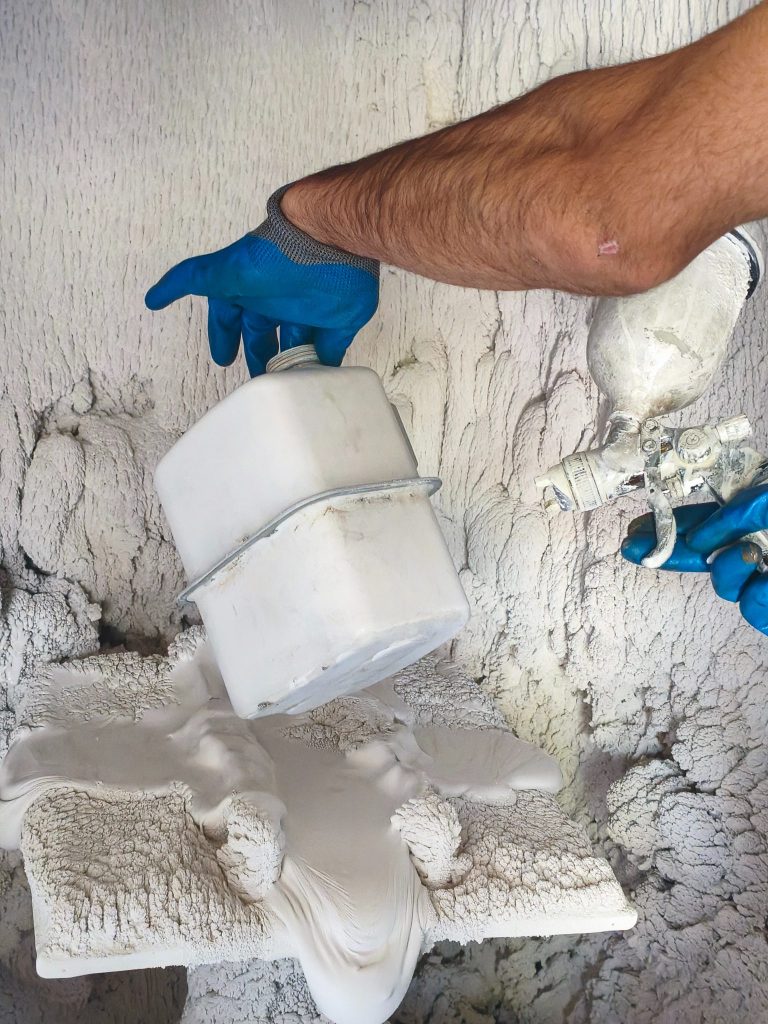 Airbrush painting
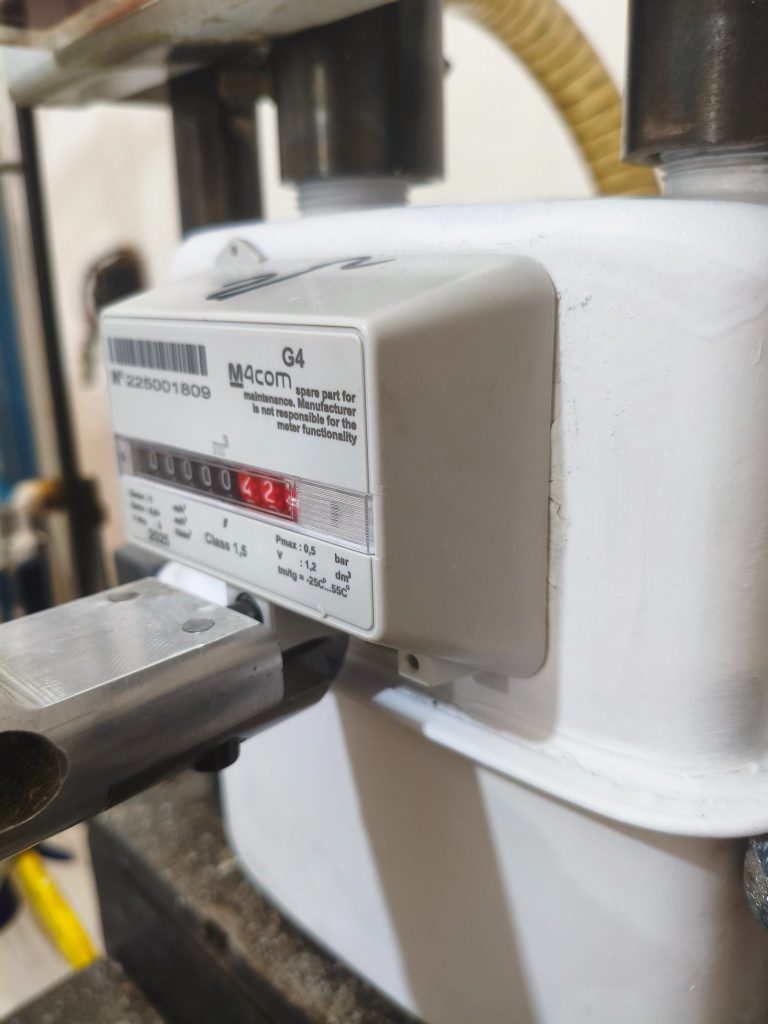 Repainted shell
Shell is repainted with an airbrush, coating matches the pale grey standard.
Stage 6
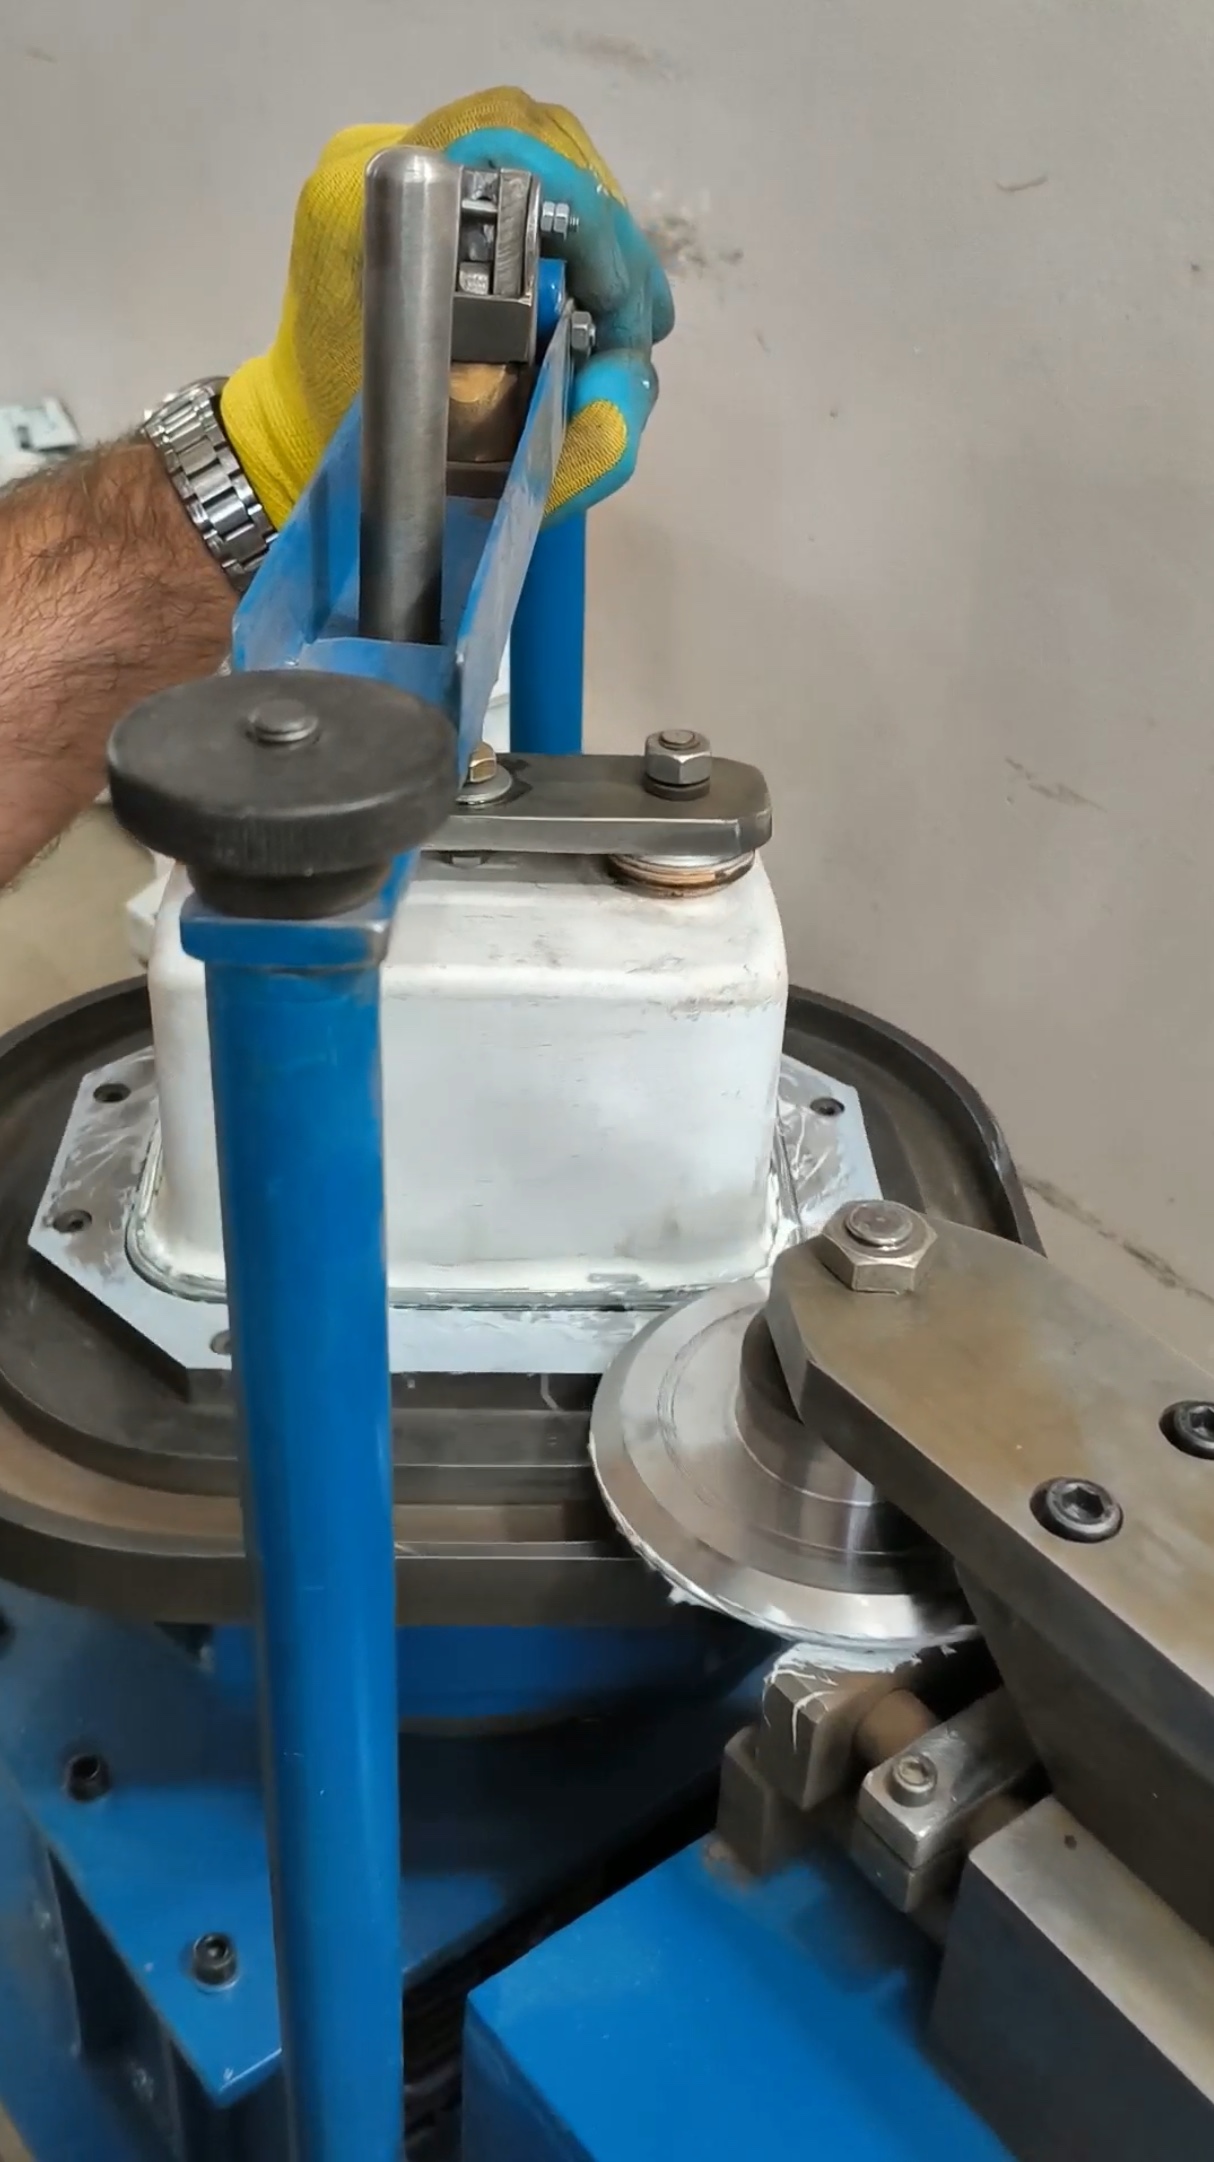
Resealing the meter
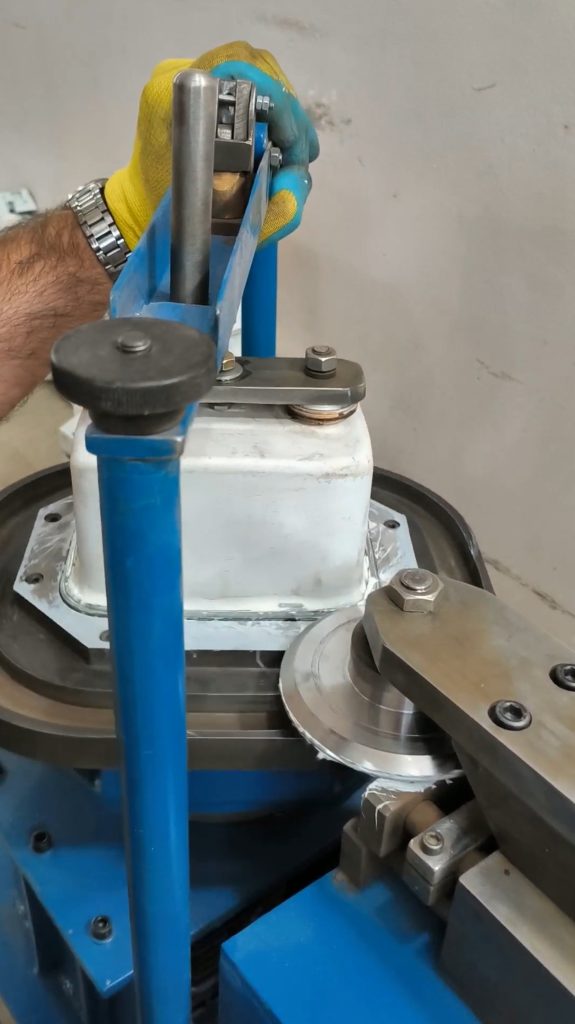 Closing the case with the band press
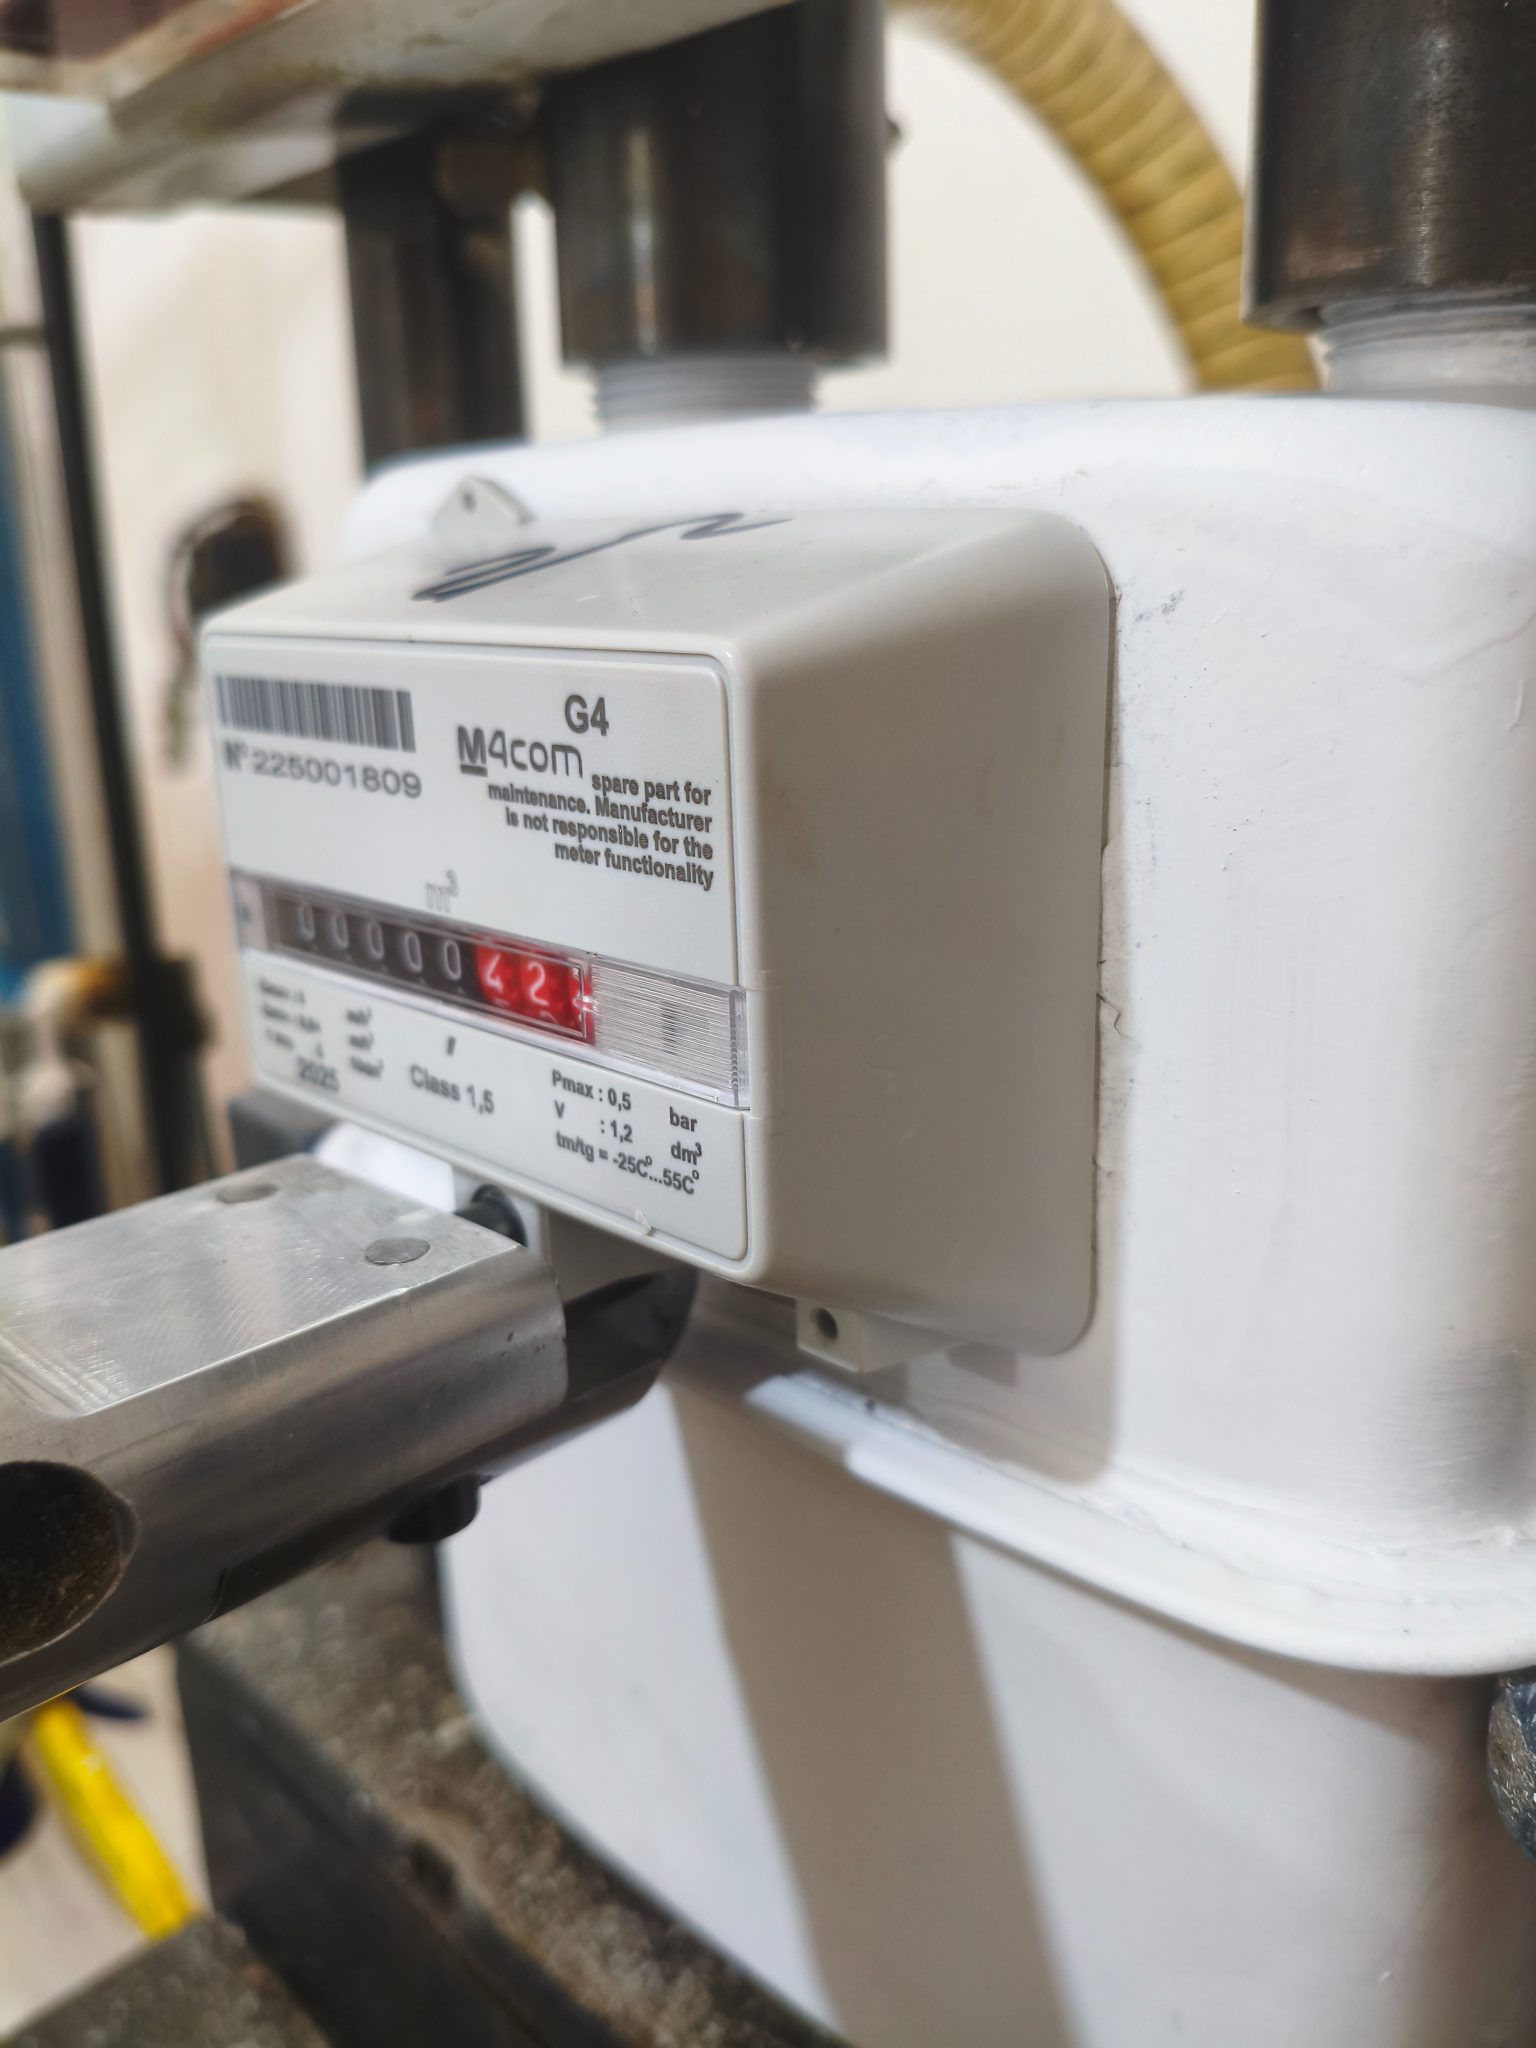
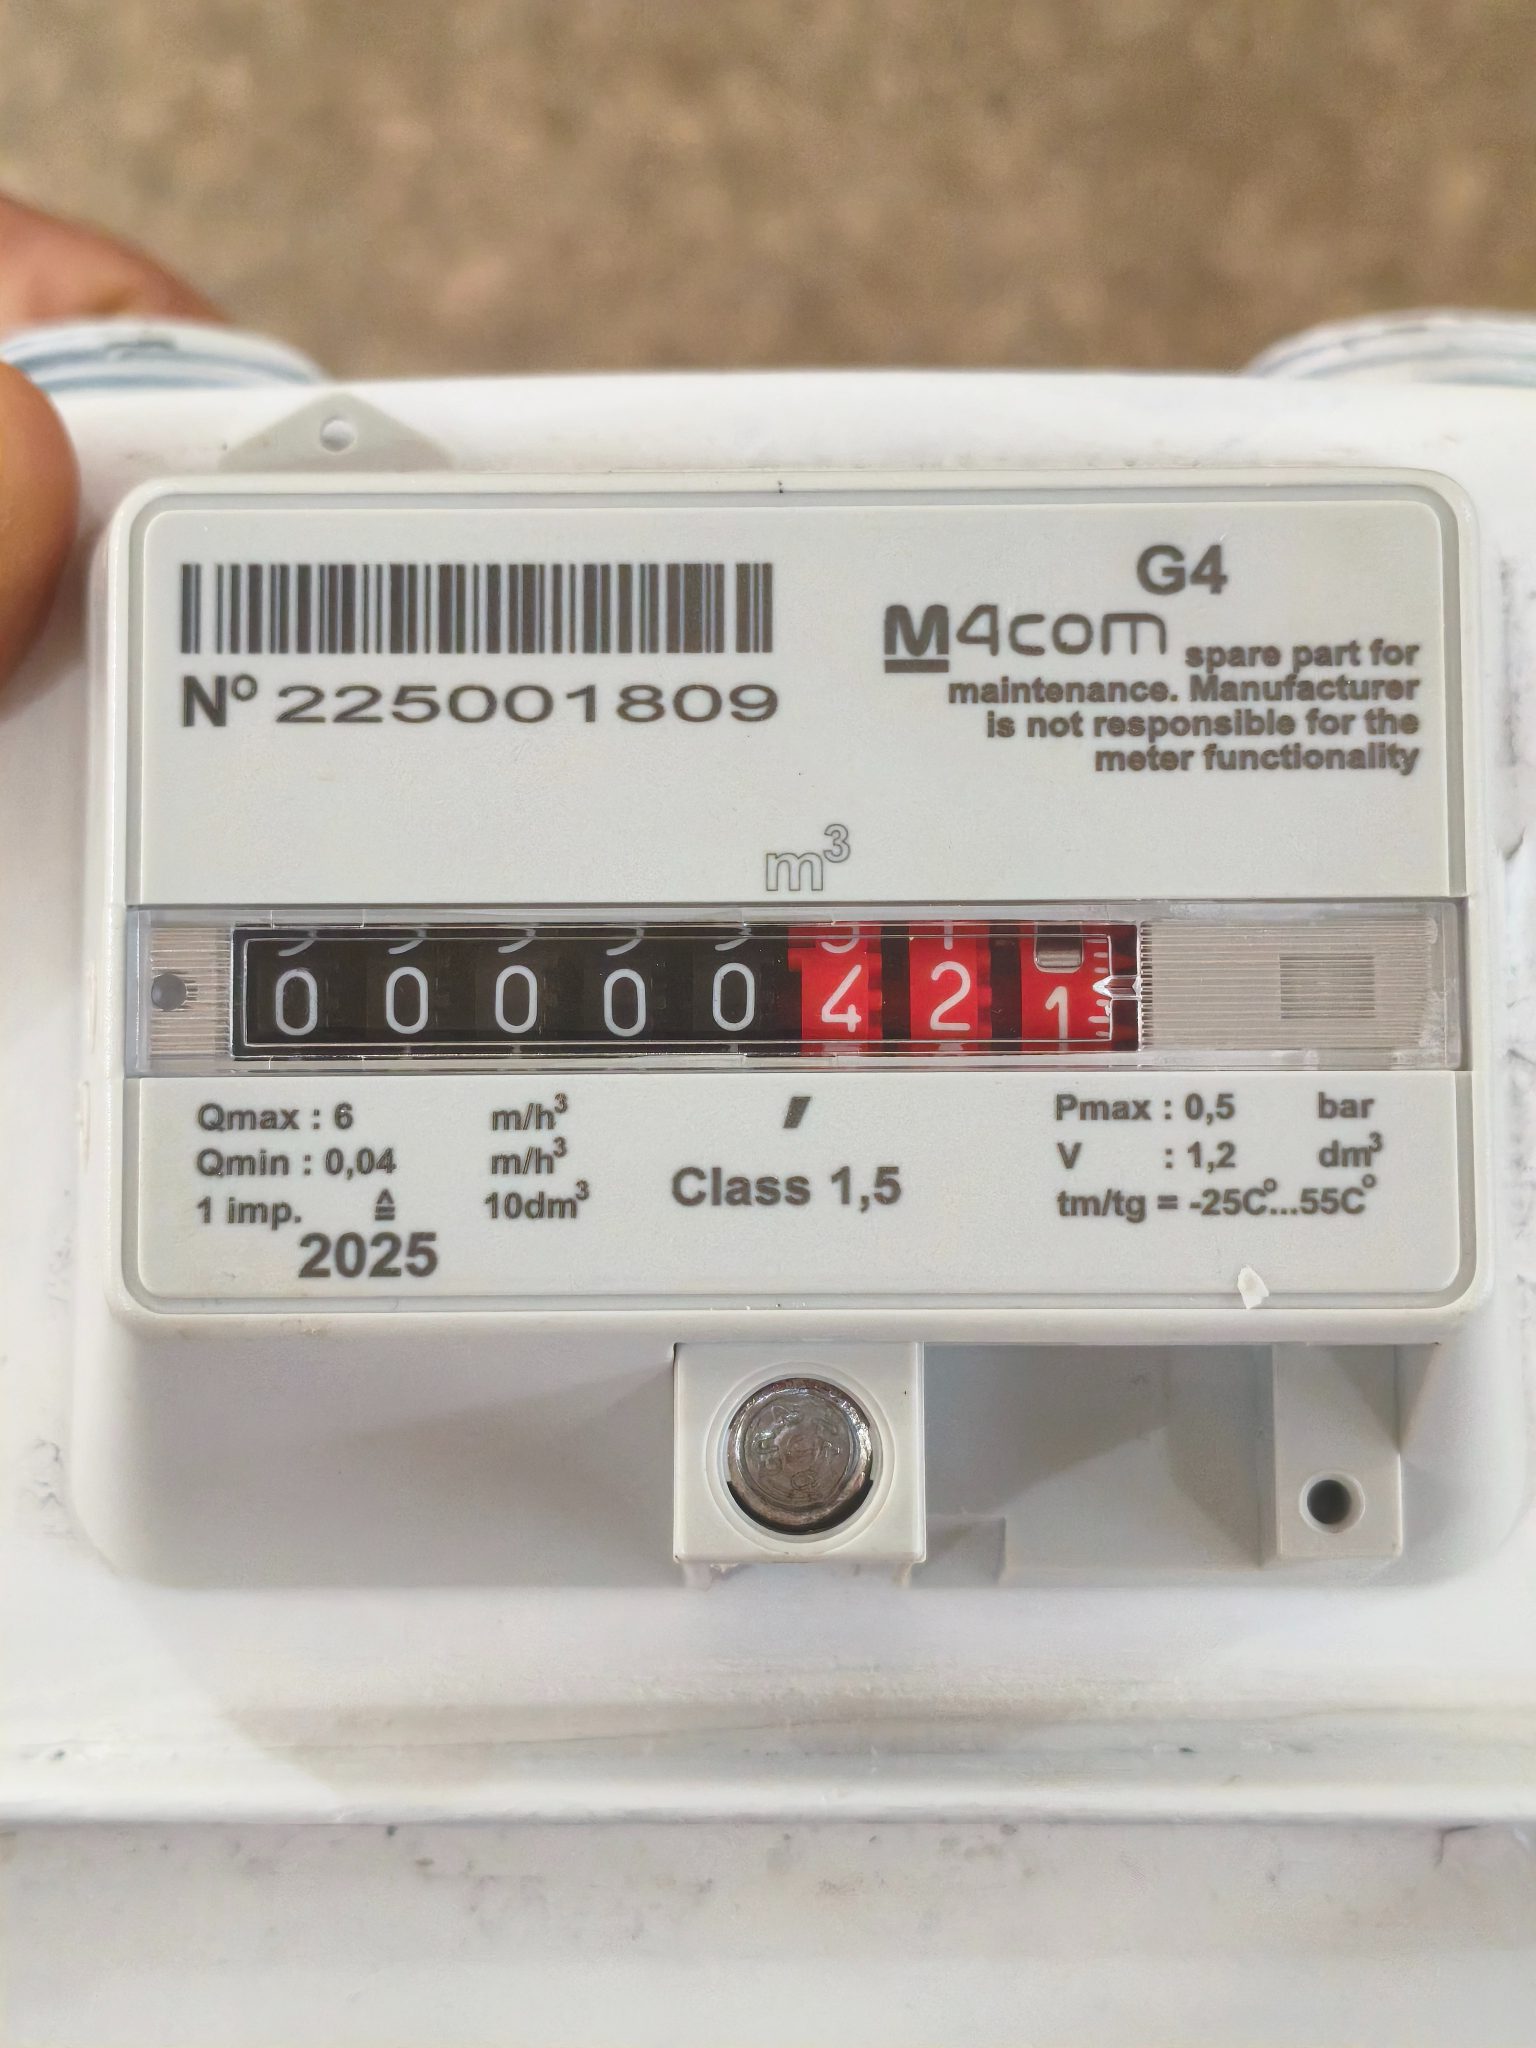
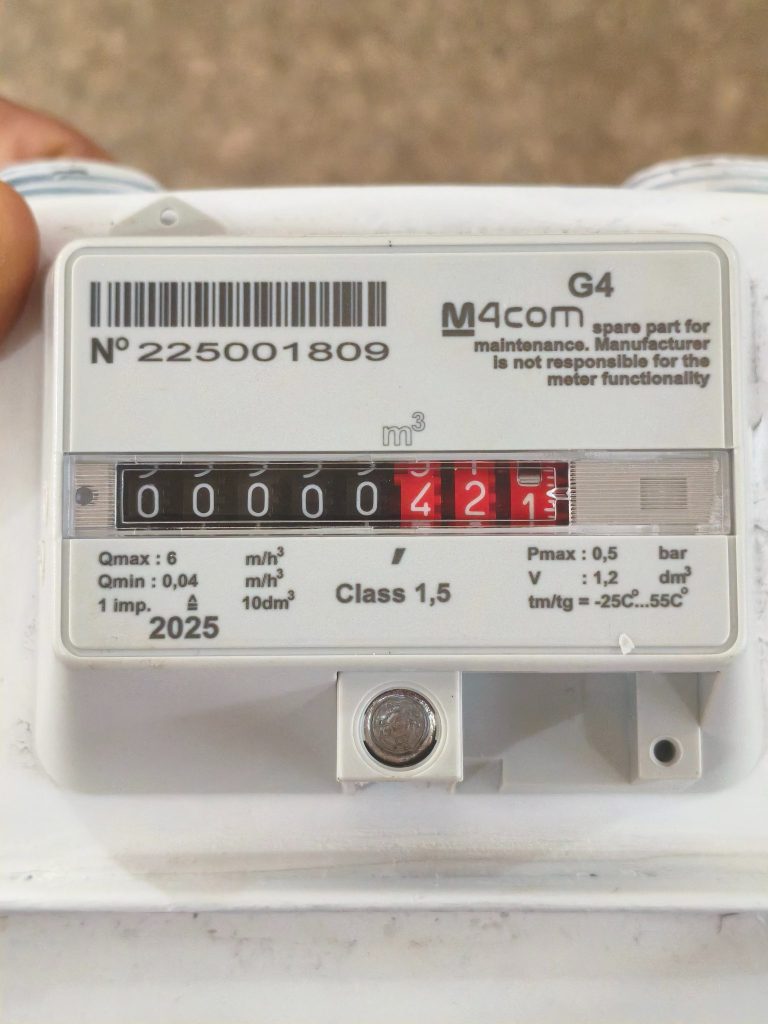 Sealed register
Seal numbers are logged against the part-number ledger.
Stage 7
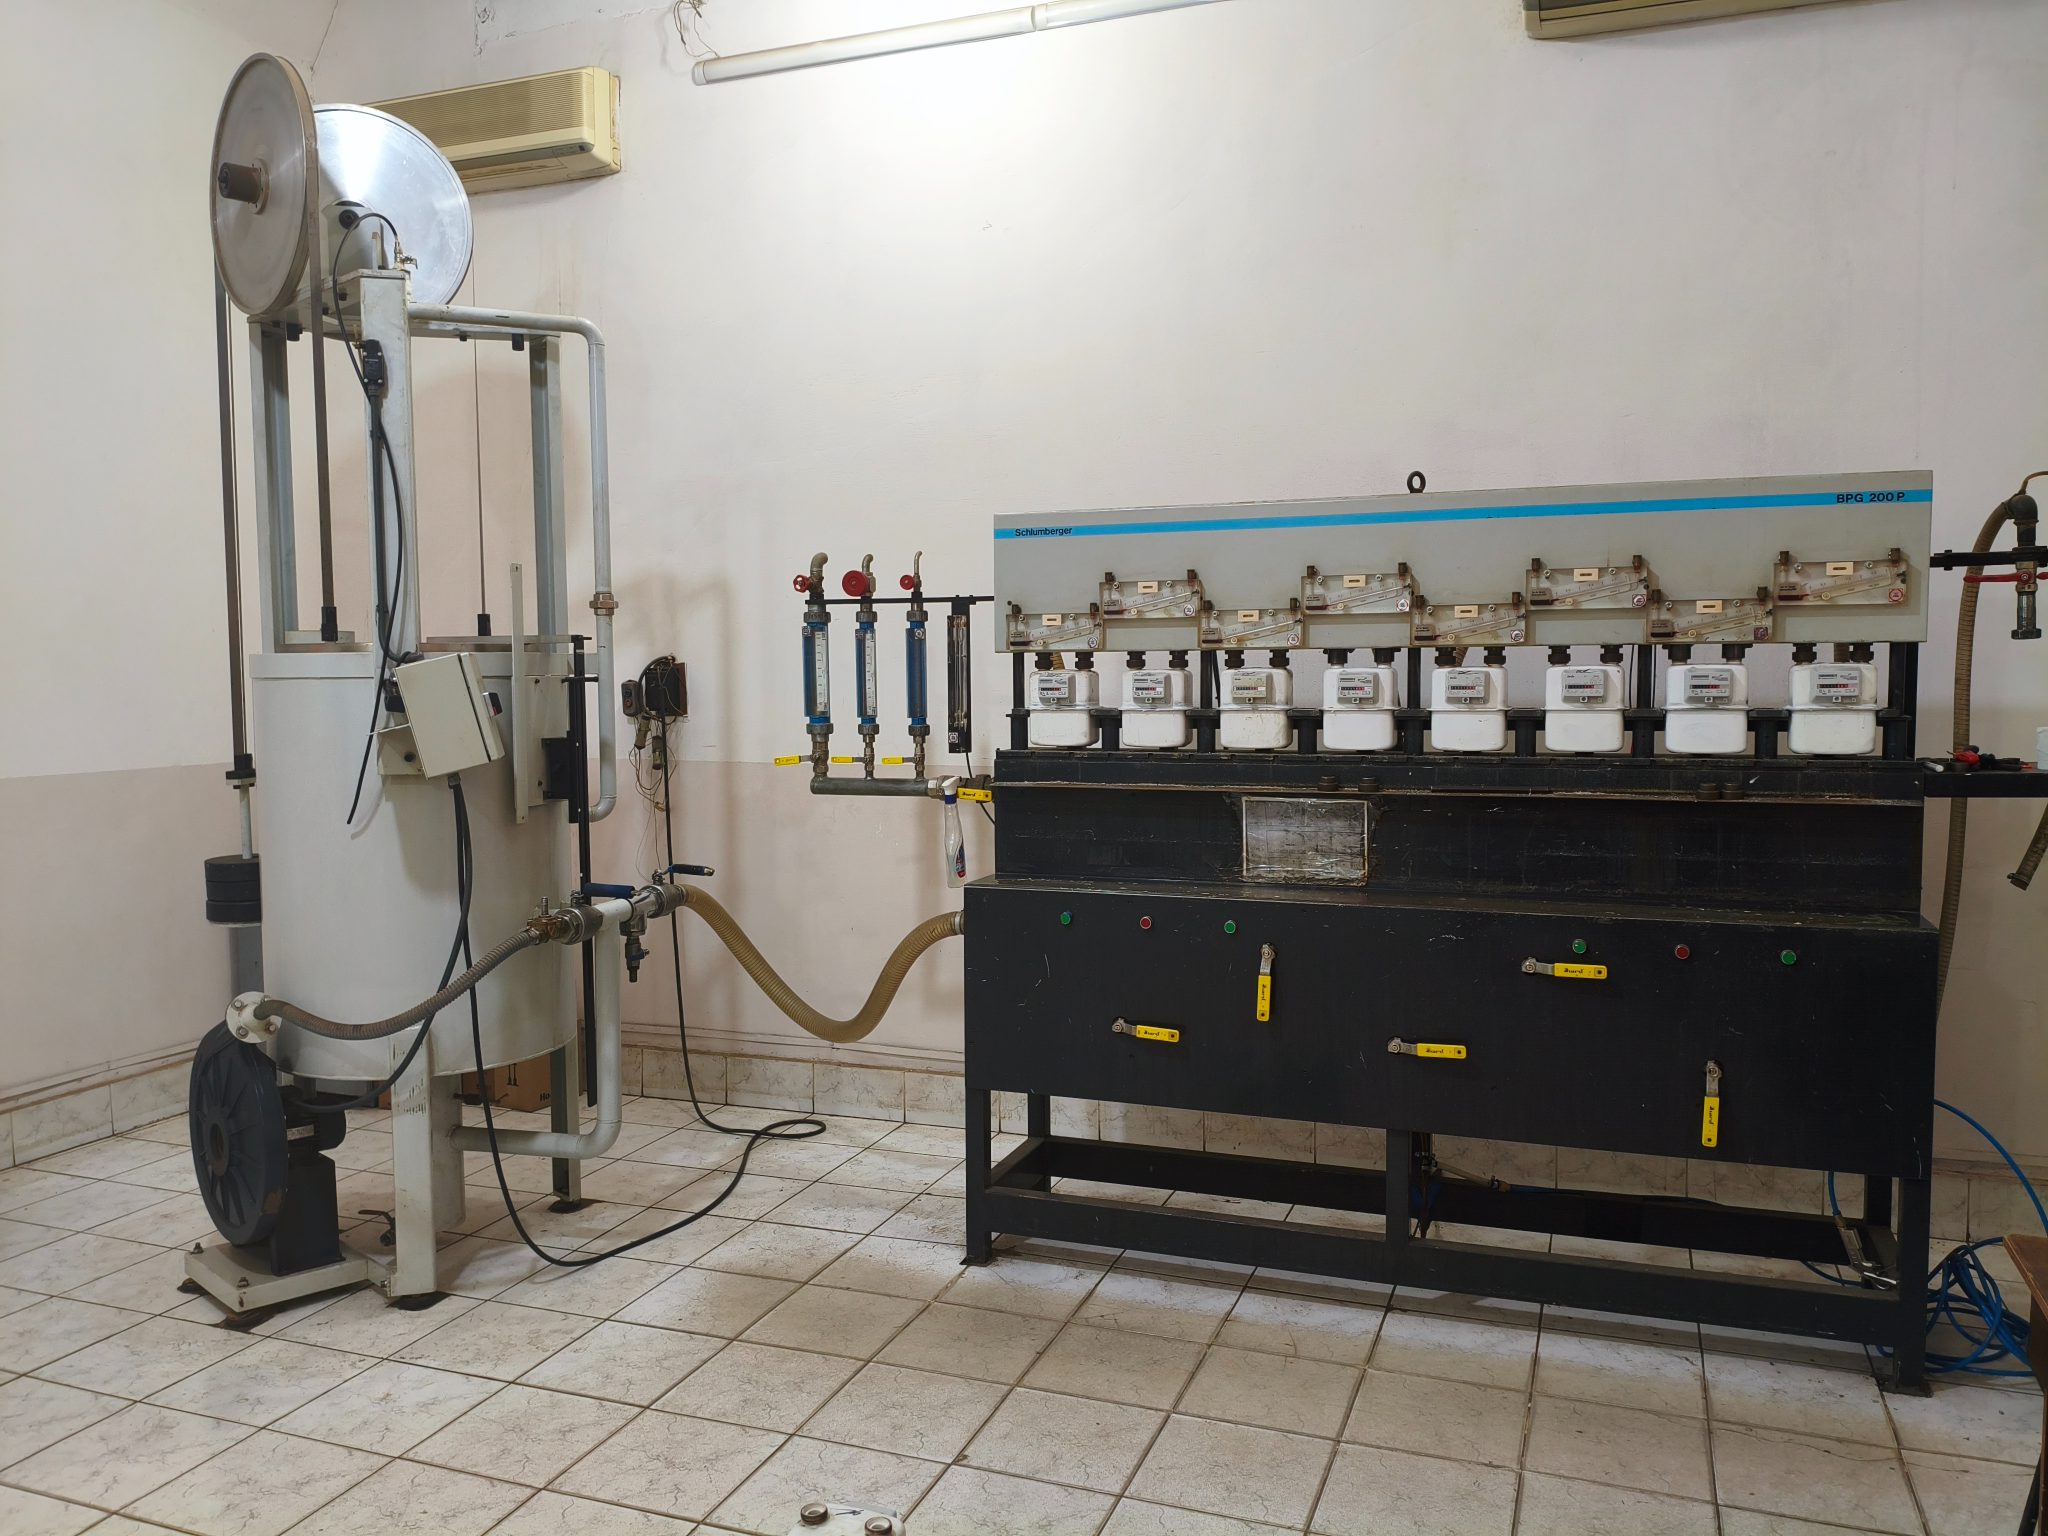
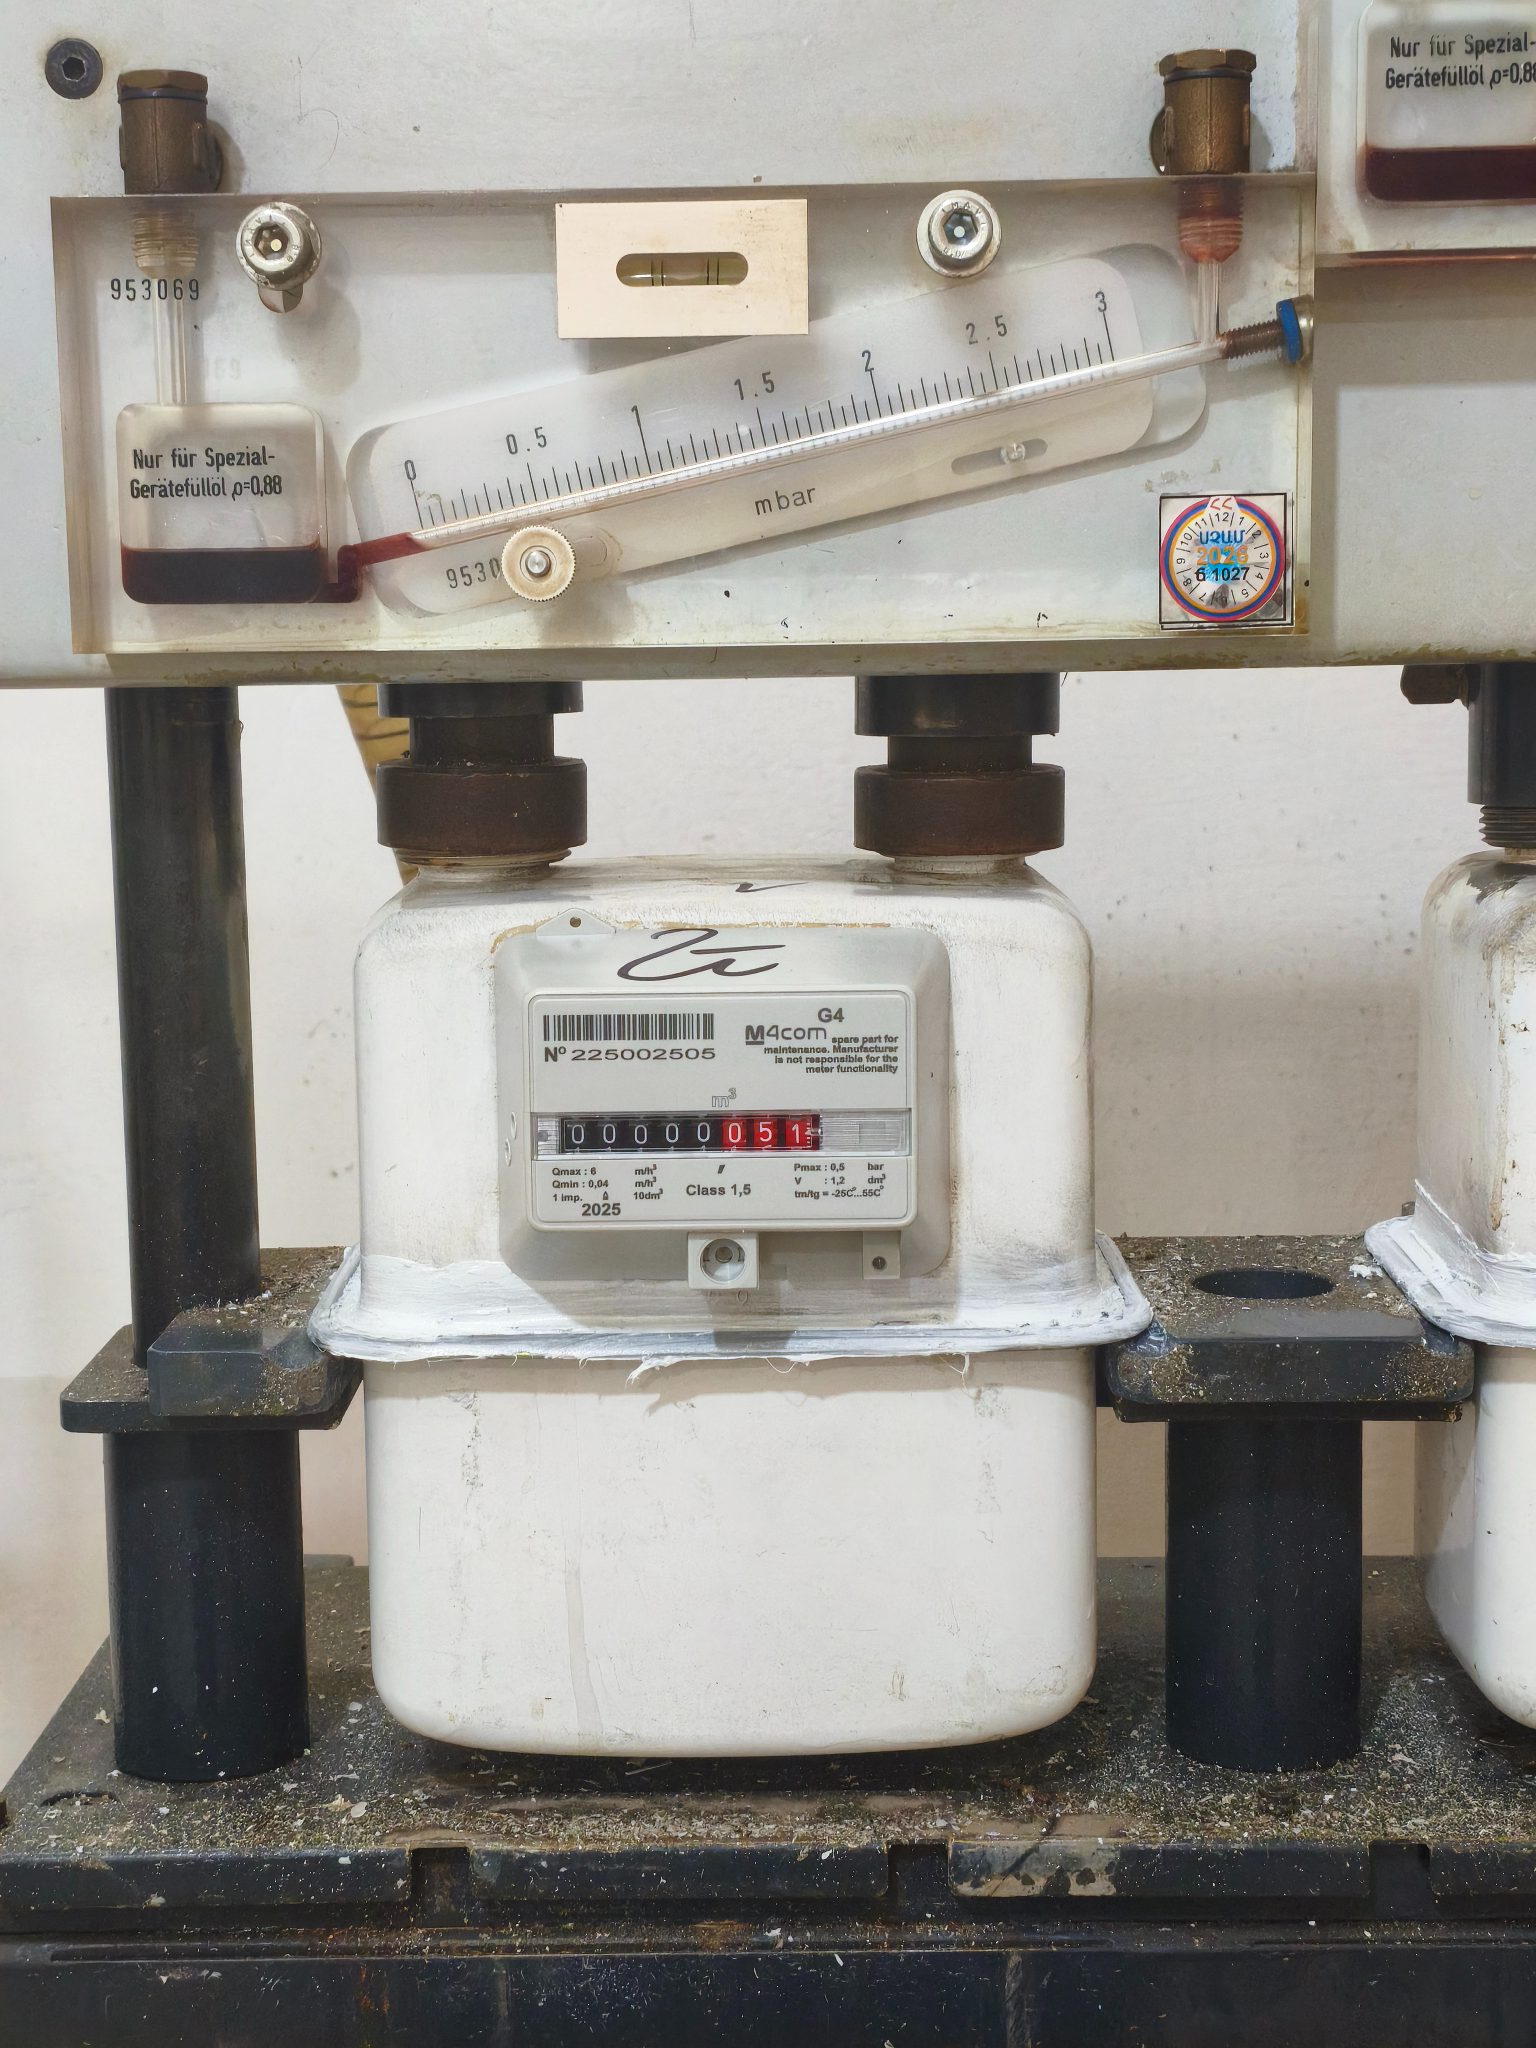
Testing accuracy and leaks
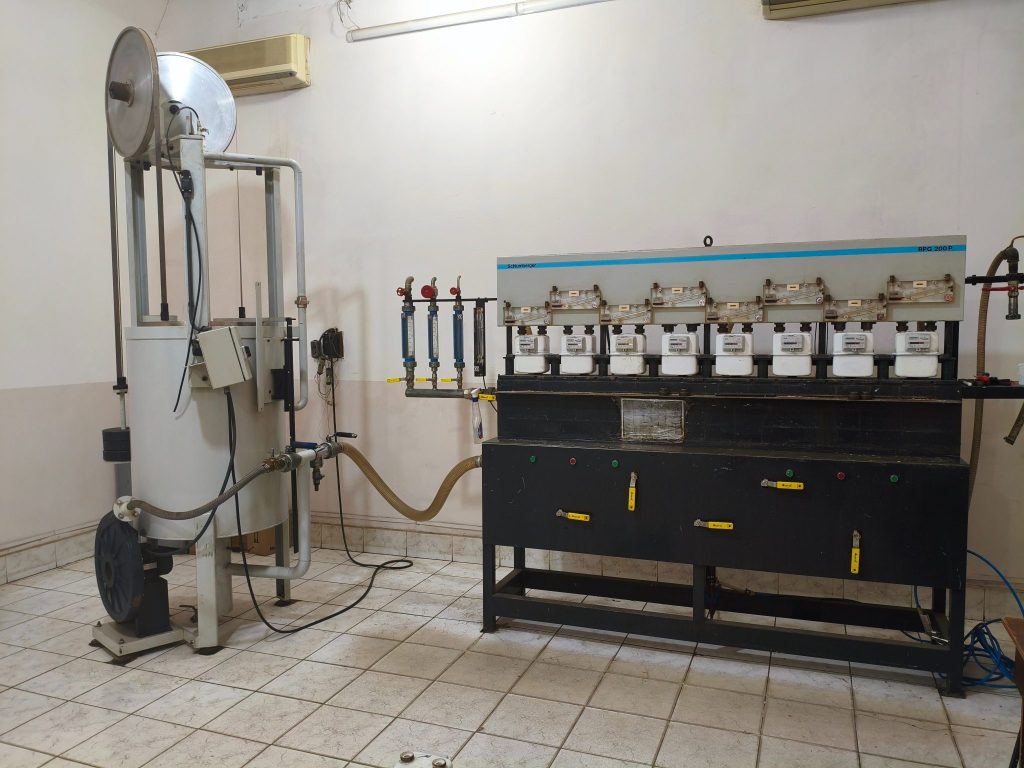 Accuracy test bench
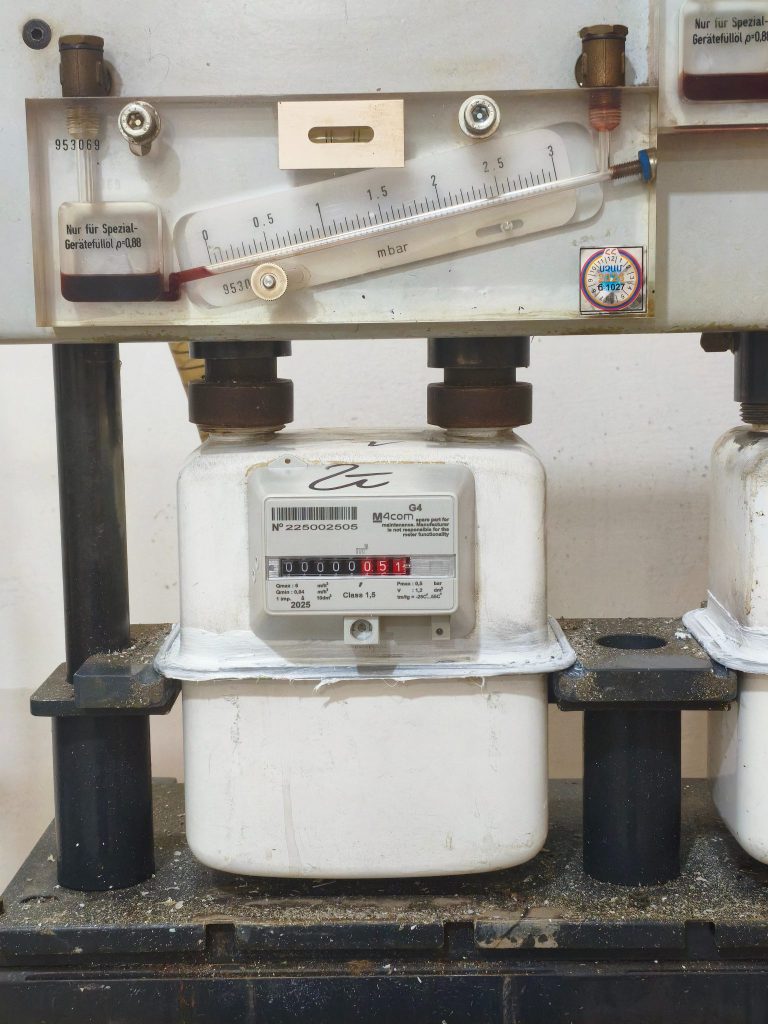 Leak test on the manometer stand
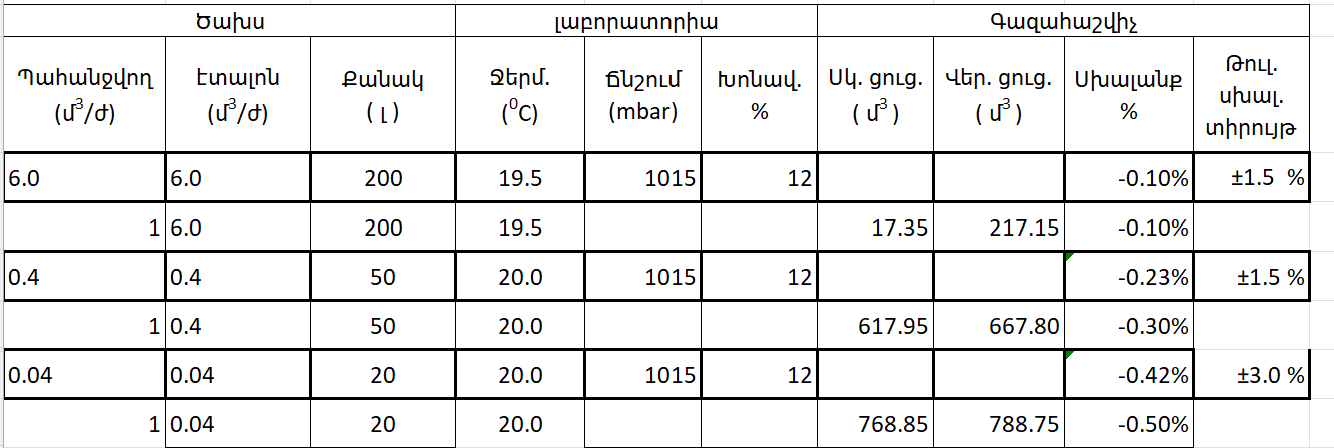 Test record: measured error against the allowed range at three flow rates
A meter that fails the test goes back to the relevant repair step.
Stage 8
Verified and released
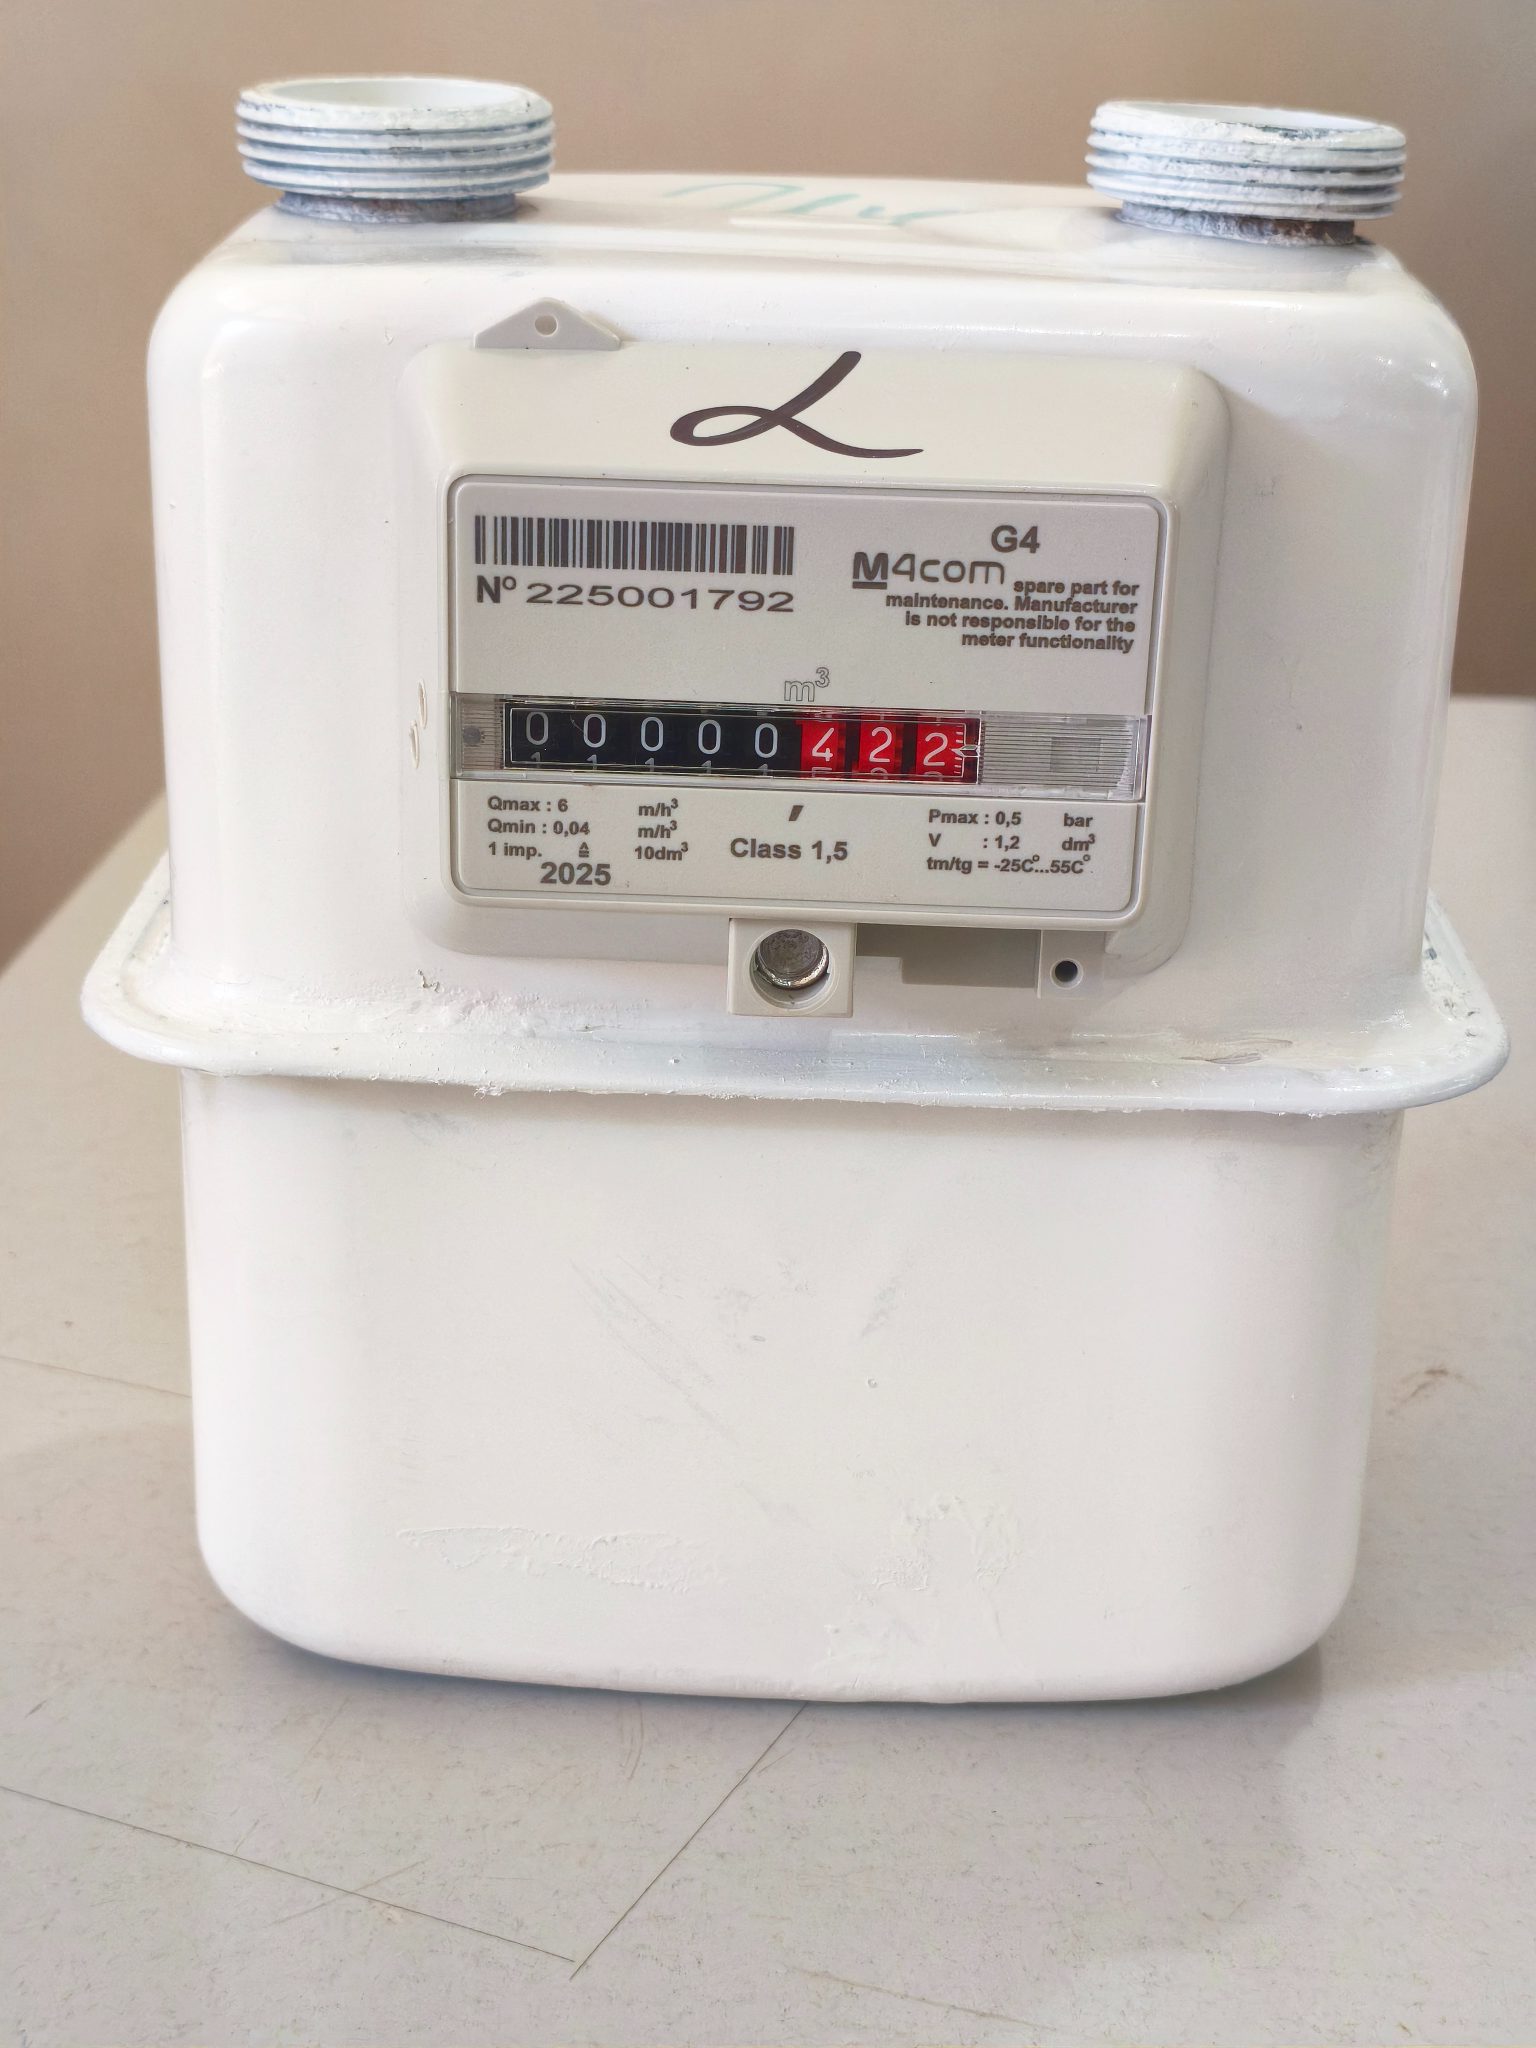
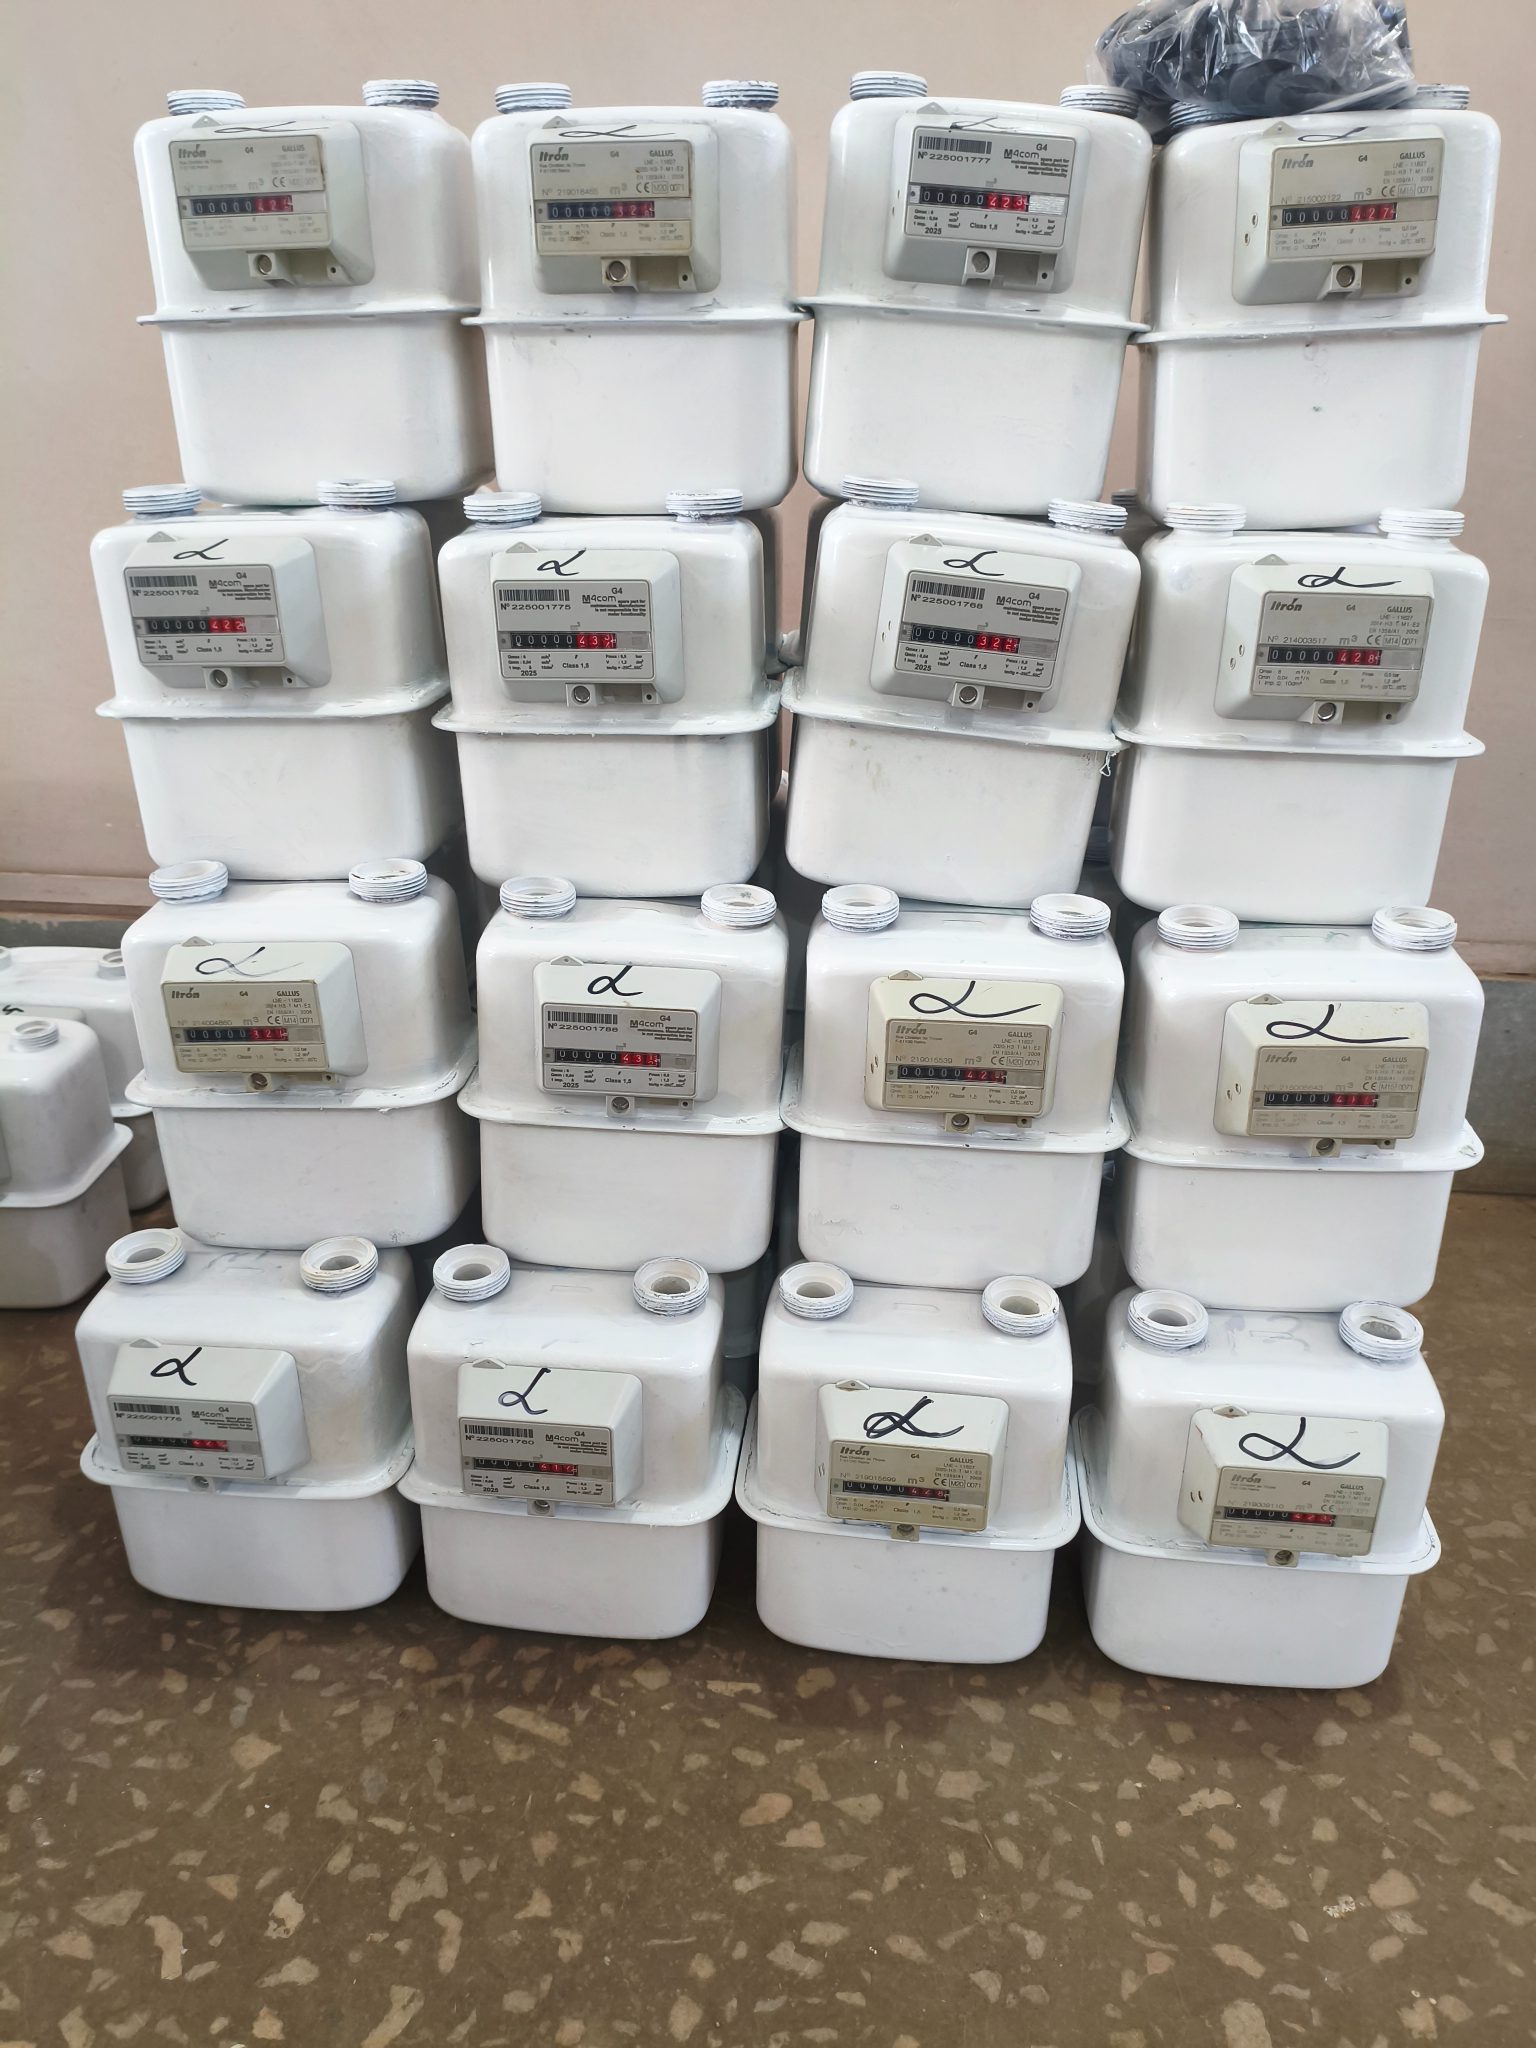
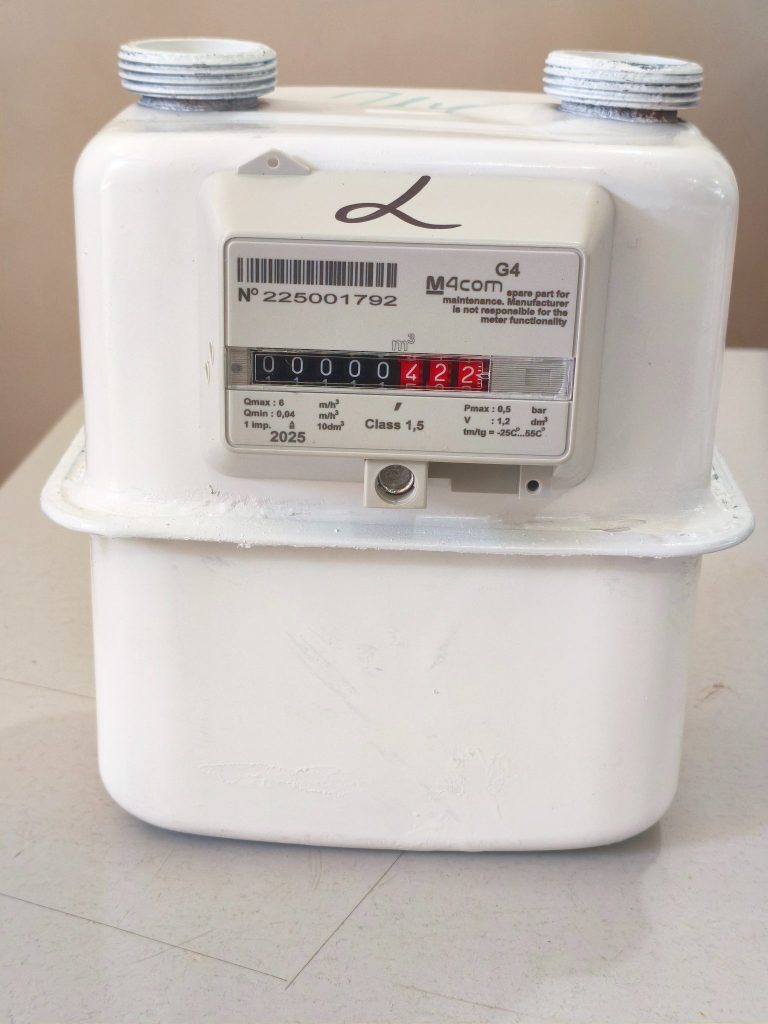 Final product
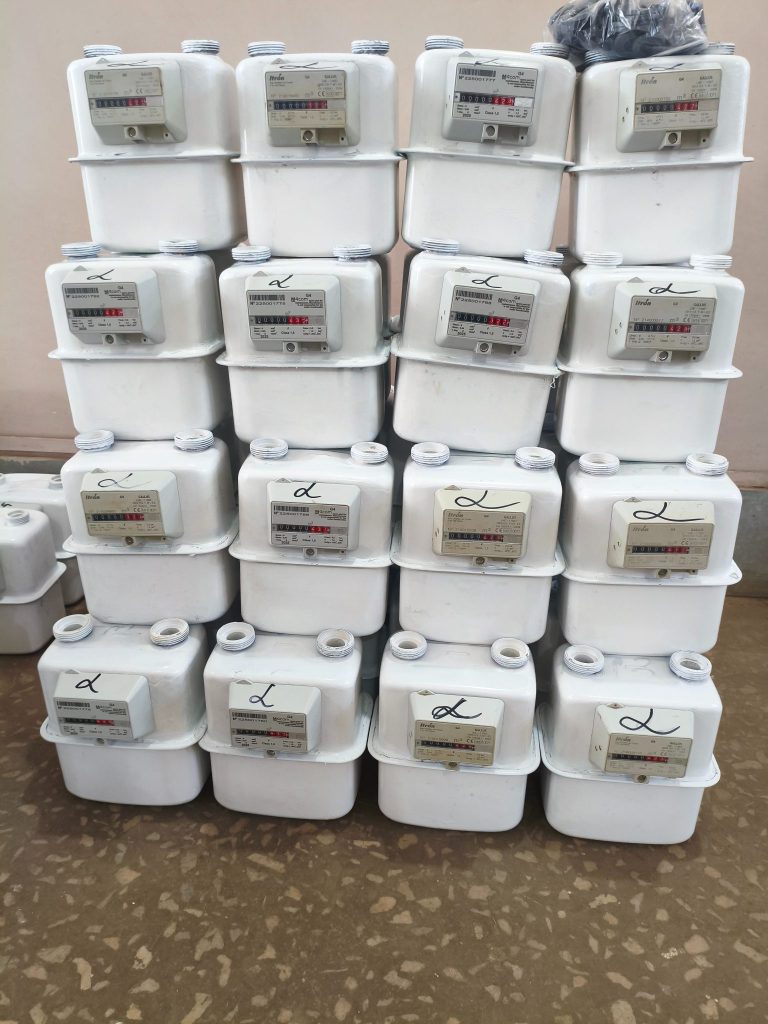 Repaired meters, ready for return to the operator
Repaired volumes feed the daily, weekly, monthly and annual counts.